A Beginner's Guide to Box Production
Designing the box for your first product may seem like a daunting task, but there’s no need to overcomplicate turning a 2D design into a 3D form. This post will walk you through everything from which software to use to the different box types and styles available! 1. For box production...
Designing the box for your first product may seem like a daunting task, but there’s no need to overcomplicate turning a 2D design into a 3D form. This post will walk you through everything from which software to use to the different box types and styles available!
1. Choosing the Best Software for Box Production
Before starting package design, you need to carefully consider which program is best suited for the job.
Most packaging designers create templates using vector programs such as Adobe Illustrator. Vector files have the advantage of being easy to scale, but Illustrator and similar programs are paid software, which means you also need to account for the software installation cost and a separate program for rendering the design into a 3D format.
Of course, if that all feels too cumbersome and you’d rather not spend heavily on software, you can always use the free packaging design tool at packative.com!
The Packative editor lets you create images with simple drag-and-drop functionality, and without any separate 3D rendering program, the artwork you design on the 2D template is applied directly to a virtual 3D box so you can see what the finished product will look like.
If you want to learn how box production works at Packative, be sure to read: Experience the Box Production Process at Packative
2. Creating a Dieline for Box Production
A dieline refers to a flat template for box production. Dielines are usually created by packaging designers in vector programs such as Illustrator.
 Source: Packative Editor
The finished dieline should clearly distinguish between cut lines and crease lines. Since cut lines and crease lines are information that must be delivered separately to the printer, they should be created on separate layers and assigned spot colors so each stage can be handled properly during production.
Take a look at the cutting dies provided by Packative!
It is also a good idea to label the dieline layers so the print shop can tell that those layers are for post-processing. Creating a dieline from scratch can be cumbersome for beginners, so we recommend practicing by disassembling a box as close as possible to the design you want and using that as the basis for a custom dieline.
Cutting dies, dielines…?!? Everything You Need for Box Production
Of course, if you use the Packative editor, a dieline matched to the correct specifications is provided, allowing you to plan the design that goes inside the package and enjoy an easier production experience.
If you want to understand box dielines in more detail: What Is a Dieline?
3. A Box Is Not Just a Box
A box is just a box? Take a look around your home or office and find the boxes you have. Most are probably square, but you’ll notice that they all have different sizes, shapes, and lids depending on the design, and some even have separate tops and bottoms.
There are many box formats, but just remember two production types: set-up boxes and folding cartons.
 Set-up box (left), folding carton (right)
Set-up boxes are made in two parts, top and bottom, and are printed on rigid cardboard. They are more expensive in terms of cost and are suitable for those producing special products or those who want to invest more in the box itself.
Folding cartons are used to package a wide range of products, from food to household goods. They are usually designed as a single folding template and are completed by folding and gluing one side.
If you’re interested in package production, this is a must-read! Package Design Color Guide: A to Z for Non-Designers
4. There’s More Than One Folding Style for Boxes
Now that you’ve just learned about box formats, it may be surprising to hear that there are also multiple folding styles. Folding styles are designed to secure the box firmly or make it easy to open. Here are some of the most commonly used types:
- Tuck-end style
- Cross-lock style
- Three-side glued style
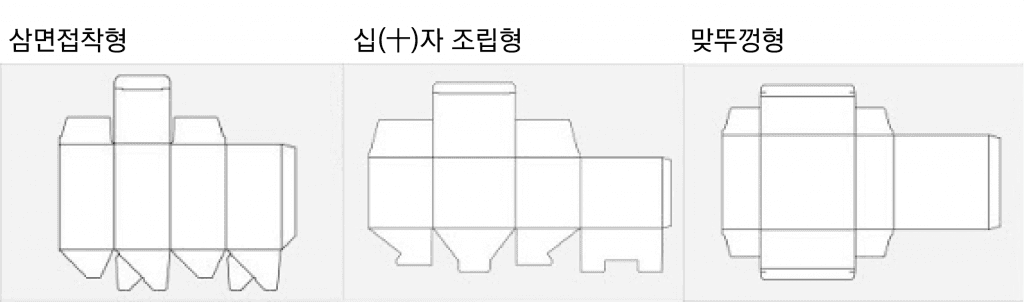
The product boxes provided by Packative use a three-side glued style, which makes them easy to store folded and offers strong hold thanks to the adhesive construction.
If you want to know more folding carton types, this is a must-read! Packative Introduces Custom Folding Cartons.
There are also box formats with specific standards according to commercial size and folding style. Examples include:
- Pillow box: A concave-shaped box suitable for cosmetics and jewelry.
Design a Pillow Box - Mailer box: A premium box recommended for those who want to package products safely and beautifully.
Design a Mailer Box - Product box: Suitable for small product packaging and relatively less expensive than other boxes.
Design a Product Box
Different products suit different box formats, so we recommend choosing a box shape based on the characteristics of your own product.
Check out the box types: Introducing Packative!
5. Create a Box Design Worth Admiring!
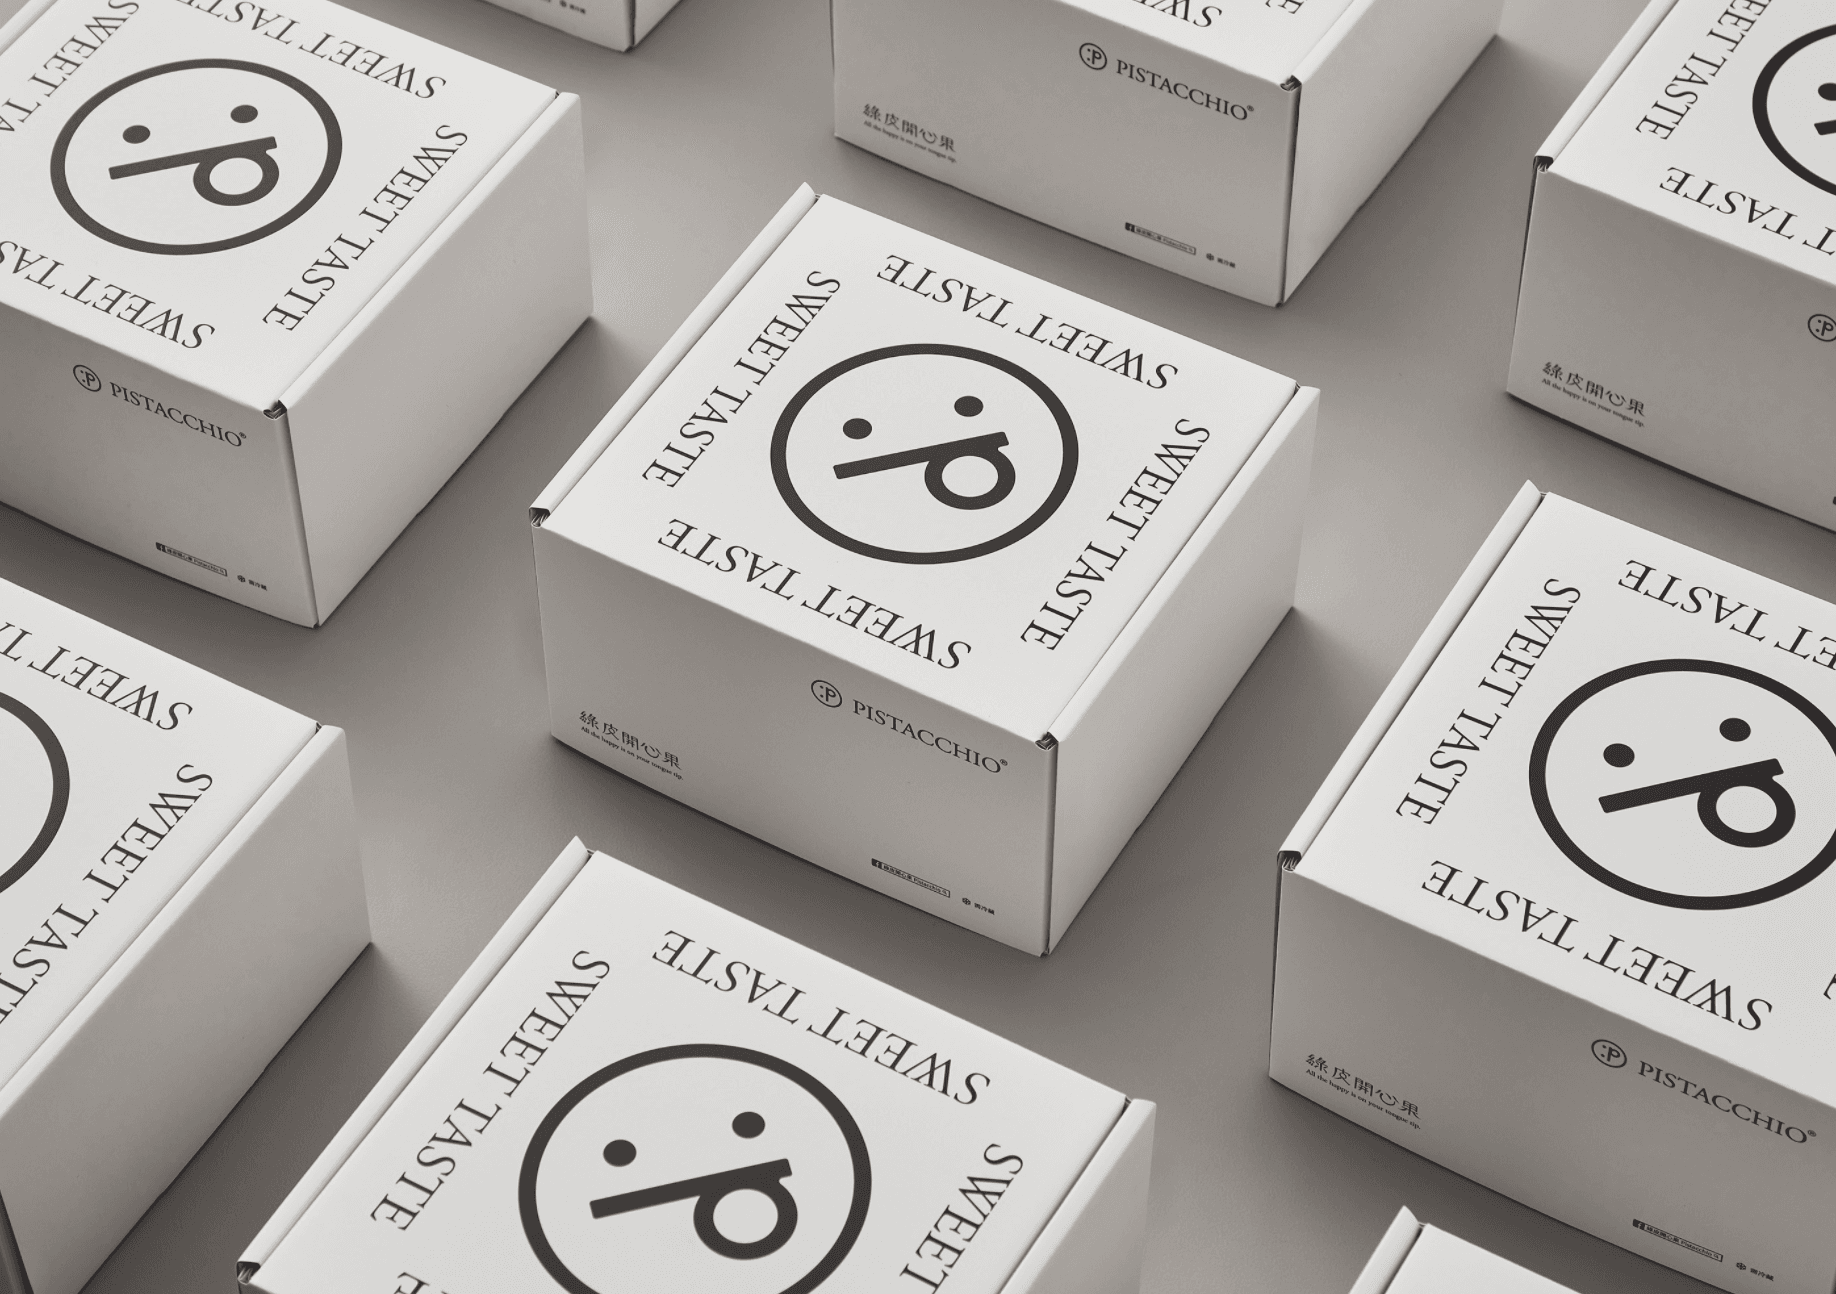
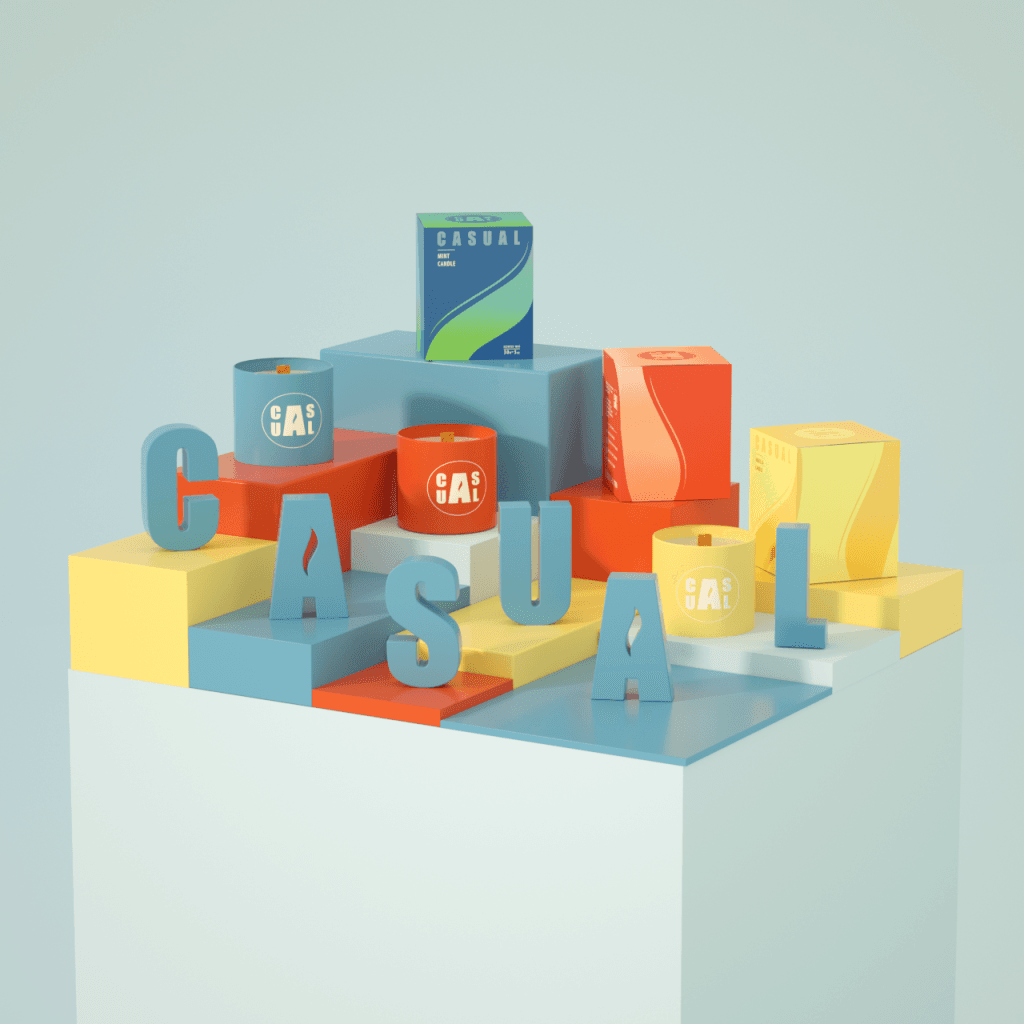
 Source: K9 Design / Designer: Kevin Lin
Of course, making something “worth admiring” is no easy task, but once you know a few tips, creating a great design won’t seem impossible.
The first thing to consider is making the product’s “purpose” and “brand” clearly visible on the box. You can increase communication effectiveness by displaying the brand logo, product name, and product description on the front of the box. Emphasizing brand identity is undoubtedly the most important factor.
If you’re curious about custom boxes, see also: How Much Does Packaging Box Production Cost?
The second thing to consider is whether the design is made with the target consumer in mind. Designers sometimes get absorbed in the style they want to pursue and end up creating something disconnected from their audience. To prevent this, communicate with actual customers or conduct market research to find out what kind of design is suitable for the package of that consumer product.
Another great tip is to “view packaging from an emotional perspective.” We encounter countless packages every day and are surrounded by visual information, so we long for something that truly captures emotion. If you make emotions like desire, nostalgia, or joy the main elements of your design, you may see consumers reaching for their wallets to buy the product.
If you’re worried about designing the packaging yourself, you can also go through the design process with Packative. If you’d like to work with Packative, let’s talk to Packative!
If you’re working on package design, also see: 9 Reasons Package Design Matters
6. Leave Some Space When Producing a Box
If you’ve created a dieline for box production and are designing the box, leave blank space for important product information. That’s because you’ll need to add various symbols on the back and bottom of the box, such as product material information, recycling symbols, and product quality markings.
Also, if your product pursues a special ethical goal, you can insert the symbol of a certified organization. For example, you could express opposition to animal testing through the Jumping Rabbit symbol.
The symbols and marks that need to be inserted into package designs can be used for free in Packative’s package design editor.
Inserted ads in boxes refer to extra items placed inside the box by the business before shipping the product to the customer, such as discount coupons or sample products. They are a great way to give customers a pleasant surprise and take the unboxing experience to the next level.
If you’re working on package design, also see: Vector Images vs. Pixel Images: Why Should Your Package Design Be Made as a Vector File?
7. Learn About Post-Processing Options for Box Production
Finally, we’ve reached the post-printing finishing stage! When it comes to post-processing, you should generally consider the box’s sturdiness and the paper coating method. The most commonly used finishing treatments are as follows:
- Partial coating: A finishing treatment that adds gloss only to part of the design, such as the logo or brand name
- Die cutting: A cutting process that removes part of the box to create a display effect
- Gloss finish: A finishing treatment that adds shine to packaging with an additional coating
- Foil stamping: A finishing treatment that adds effects such as gold foil or silver foil
- Embossing and debossing: A finishing treatment that adds texture to the box for a 3D effect
Packative’s goal is to simplify your box production experience by optimizing designs to match customer needs. For an intuitive design experience, the website currently offers only matte and glossy coating options, but if you want custom post-processing, please contact Packative!
8. Preparing Artwork for Box Printing
Now it’s time to hand the job over to the print shop. Since prices vary depending on production options or quantity, we strongly recommend checking the price differences by quantity before placing your printing order. You may be able to produce twice the number of packages you intended for only a small additional fee!
To produce boxes, you need a print-ready AI or PDF file, and we recommend additionally providing the original source file.
Be sure to export print artwork as high-quality 300 DPI images, and convert all RGB colors to CMYK. If you’re exporting artwork from another program, preserve the individual layers so that CMYK colors, spot colors, and finishing layers remain separate and make it easier to handle different print quantities. Once printing is complete and the packages have been cut, folded, and glued, be sure to inspect the quality of the finished packages carefully.
9. Wrapping Up: Box Production Complete

Congratulations! If you’ve gone through all of these steps, your package design should now be complete, produced, and ready to sit on store shelves. Through this post, we’ve learned the A to Z of the package design process. Finally, let’s briefly review the sequence for package design and production:
- Choose the program for the 2D template and 3D mockup of the package design
- Create the dieline
- Choose the box type
- Select the box folding style
- Create a great design
- Leave space for symbols and inserted ads
- Check the printing finishing options
- Prepare the artwork for actual printing and produce it
Remember that all of these steps are possible on the Packative website, and if you want more package design posts and ideas, check out the Packative Blog!