Essential Checklist to Review Before Ordering Packaging Box Production
Before sending artwork to print, it is essential to check whether the design file contains any inefficiencies or errors and whether it has been set up correctly for final printing. Print preparation varies depending on the complexity of the job, but there are a few basic checks you should complete before sending any print work to achieve the desired result...
Before sending artwork to print, it is essential to check whether the design file contains any inefficiencies or errors and whether it has been set up correctly for final printing. Print preparation varies depending on the complexity of the job, but there are a few basic checks you should complete before sending any print work to achieve the desired result. At Packative, we’ve put together a checklist of the essential items to review before sending packaging boxes to print.
If you want to know exactly what a packaging box is, check here right away!
Packaging Box Production Checklist 1: Check Every Element Carefully
The first step in the packaging box production checklist is to carefully review minor issues such as typos and grammatical errors. Making these small mistakes can leave customers with a negative impression of your company and may cause them to choose a more meticulous competitor or even lead to a lost sale.
Catching errors is even more important in print. Once the design has been delivered to the client, there is no way to correct mistakes in real time, which can make the process more complicated.
If you’re creating package design, see also: 5 Tips for Creating Package Design!
Packaging Box Production Checklist 2: Check Font Spacing
Once proofreading is complete, it’s time to adjust text spacing. Most fonts and kerning settings are provided to some extent by design software by default, but if you don’t fine-tune the type yourself, the lettering may look slightly awkward.
Traditional type adjustment steps such as line spacing and kerning are key elements to refine when making a design stand out. Each punctuation mark, character, negative space, and paragraph should provide visual satisfaction to viewers looking at the design from a user’s perspective. At Packative, we’ve made it easy to adjust fonts in the editor with handy tools, so be sure to take a look!
 Source: i-boss
Packaging Box Production Checklist 3: Be Careful When Converting Fonts
To ensure an accurate print layout, all text in the document must be converted into outlines or images. One option is to package the fonts into a single linked folder, and another is to convert them to outlines and break them apart. You can also save the entire design as a high-resolution image.
 Source: jintrue.tistory
Packaging Box Production Checklist 4: Check Image Size and Resolution
In most cases, files should be set to a resolution of at least 300 dpi to prevent pixelation and achieve the best print quality.
When you resize an image in a document, the image’s output resolution changes as well, so it’s generally best not to enlarge photos by more than 20% of their original size. In particular, be careful with images taken from the internet or mobile phones, as they may be low resolution. If stock photos or high-quality original images are preferred, vector graphics are also highly suitable for printing.
If you’re 고민ing about packaging production, read this first! Basic Guide to Product Packaging Box Design — Even Beginners Can Do It!
 Source
Packaging Box Production Checklist 5: Check the Color Mode
Check the properties of each image and document to make sure it is in CMYK color mode. If it is in RGB, grayscale, or another mode, convert it to CMYK unless it is intended to be used as a separate image. Digital printers are more precise than offset printers, so if the correct color mode is not used, the printed colors may not come out as expected.
A helpful post for package design: Why Minimalist Product Packaging Design Is Efficient

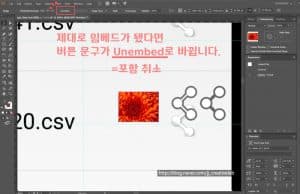
Packaging Box Production Checklist 6: Embed Images
To embed images in Illustrator or InDesign, select the image and choose “Embed” from the Links panel. Don’t forget to check that the image quality is high resolution!
A helpful post for package design! 5 Essential Rules of Packaging Design (Must-Read for Packaging Box Production!)
 Source: Naver Blog jj_creativelab
Packaging Box Production Checklist 7: Calibrate Your Screen
Another way to achieve accurate color is to calibrate your screen before printing. If you view a mockup draft without calibrating the screen, you won’t be able to get the color tone you originally wanted.
Clients and designers should understand that different calibration settings can cause issues during production. To solve this, it often helps to view the design on multiple devices, or even better, to print the design once as a test. While the colors may not perfectly match what a professional printer can produce, this step can help you catch subtle differences that aren’t visible on screen.
If you’re interested in packaging production, this is a must-read! Why Custom Brand Packaging Is Important for Online Stores

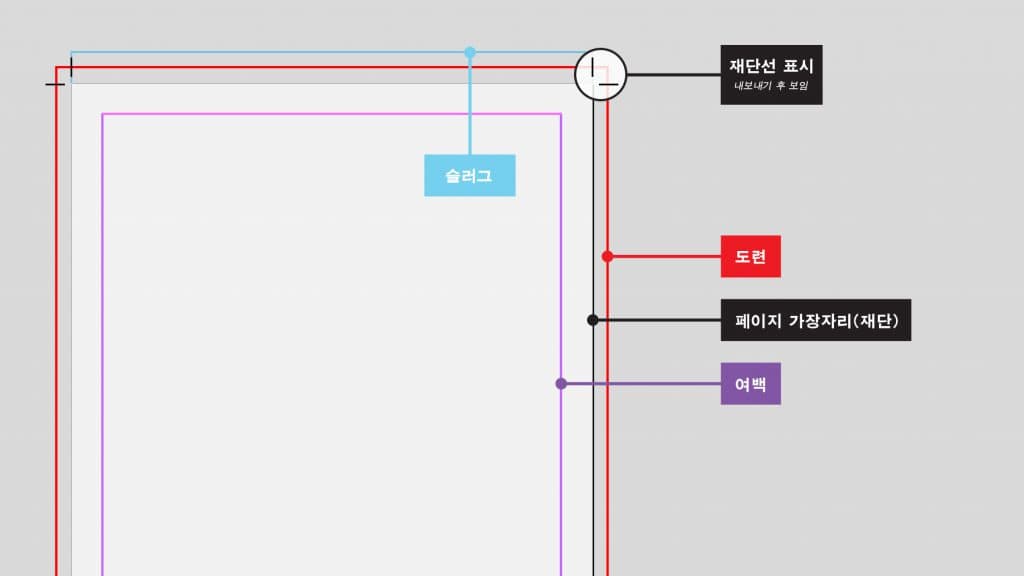
Packaging Box Production Checklist 8: Set the Margins, Bleed, and Dieline
Setting and checking the margins, bleed, and dieline is one of the most important parts of packaging production. Make sure important elements such as text stay within the specified margins and do not get too close to the edge, and extend the artwork beyond the designated artboard so that white borders do not appear after trimming. In addition, some printing vendors require dieline marks that indicate where the paper will be cut to the finished size, so these three points are essential rules to follow when ordering packaging box printing.
 Source: https://helpx.adobe.com/kr/indesign/how-to/set-print-bleed.html
Packaging Box Production Checklist 9: Save as PDF
After completing all of the checklist items needed for packaging box production above, all that remains is to save the file correctly. Since PDF is the format that prints most accurately, it’s generally best to convert the file to PDF. Then make sure it is saved with the settings required by the printing vendor. PDF settings include printer marks (bleed, margins, dieline, etc.), presets (such as “High Quality Print,” “Press Quality,” or “PDF/X-1a:2001”), compatibility, color mode, compression, and PDF layout (single page, facing pages, etc.), so make those adjustments here.
If you’re 고민ing about packaging production, read this first! 5 Common Mistakes When Producing Packaging Boxes
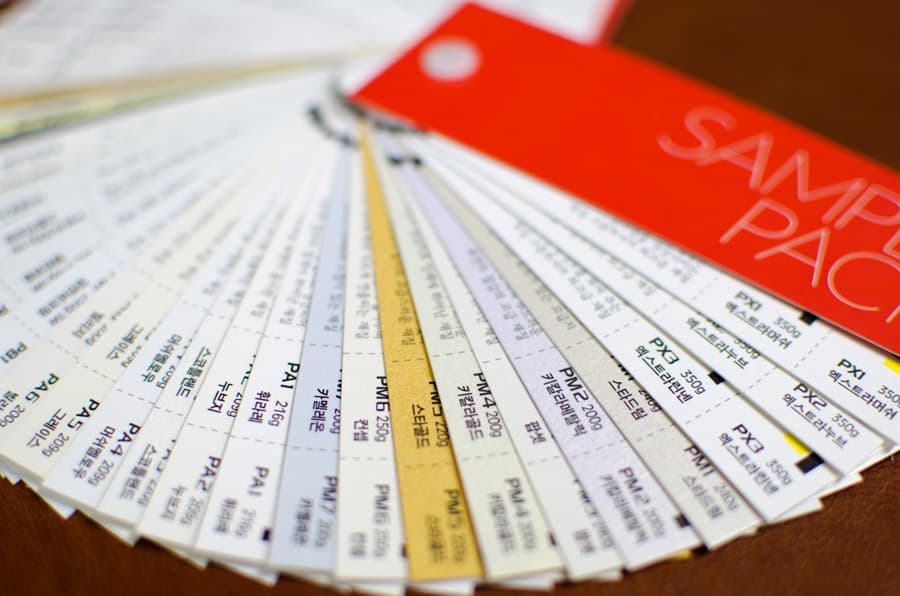
Packaging Box Production Checklist 10: Choose the Right Paper
Using the right paper in the right place is another item that absolutely belongs on the checklist. It’s the final step before sending the design to the printing company, and because each type of paper can create a different visual appeal, you should put real care into choosing the paper. For example, sometimes a less expensive semi-gloss paper can achieve the result you want just as well as matte paper, so it’s better not to assume that only the most expensive paper is the best choice.
At Packative, the paper type is already determined by box type, so you don’t need to worry too much about this item. We always do our best to make the service easy and convenient for customers, so you can handle packaging box production without difficulty. Visit the Packative site now!