How to Custom-Make Paper Boxes with the Packative Editor
Have you ever wanted to create a simple box by adding your brand logo and symbol, but weren’t sure where to start? Do you want to avoid separate packaging design consulting for a small custom paper box project, yet find it awkward to contact a box manufacturer and get started? If so, why not make your box with the Packative Editor? ...

Have you ever wanted to create a simple box by adding your brand logo and symbol, but weren’t sure what the best approach would be? Do you want to avoid separate packaging design consulting for a small custom paper box project, yet find it awkward to contact a box manufacturer and get started? If so, why not create your box with the Packative Editor?
First, let’s go into the Packative Editor!
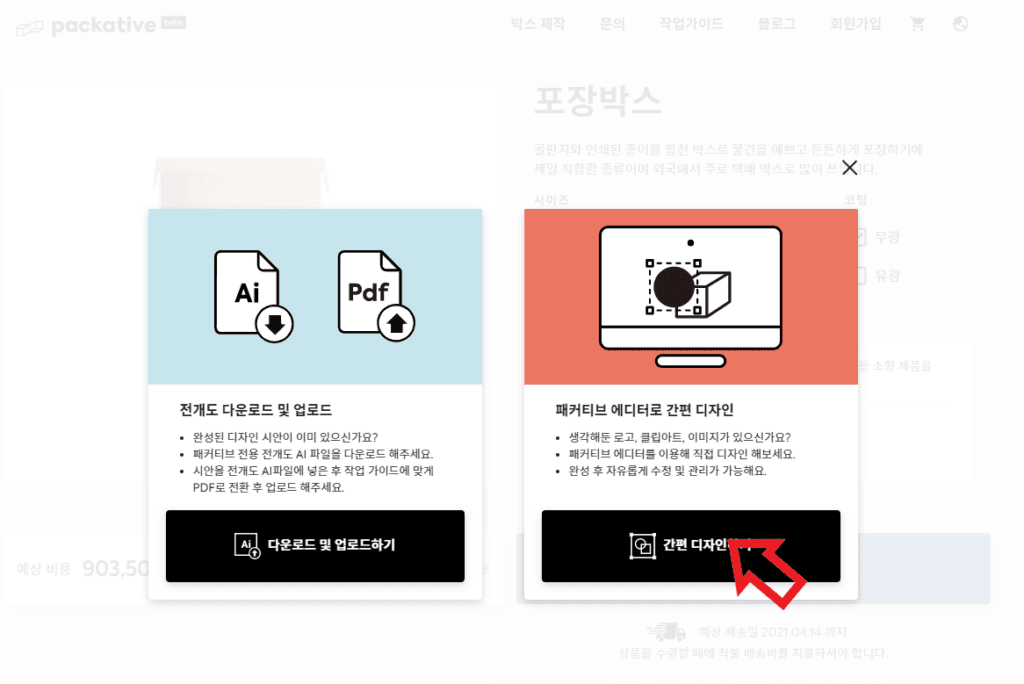
Using the Packative Editor for custom paper box production
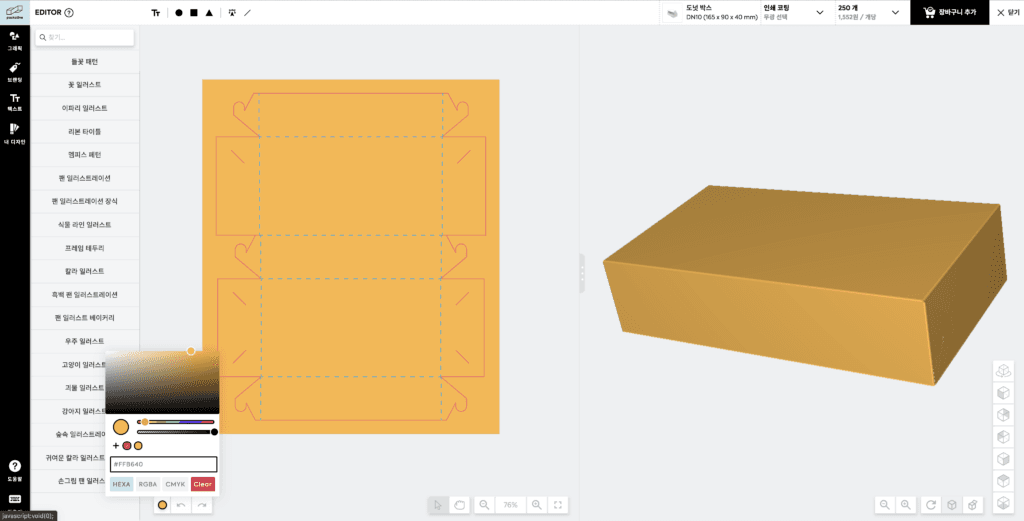
Click the color icon at the bottom of the dieline,
enter your brand identity color HEX code, and press the + icon to add your brand color.
If you save your colors in advance, you’ll be able to freely use your brand identity colors later while designing your paper box!
If you haven’t decided on your brand identity colors yet: Packaging Design Color Guide
After adding your colors, set the overall box color. If you want a white box, you don’t necessarily need to apply a color.
Learn more about box color printing
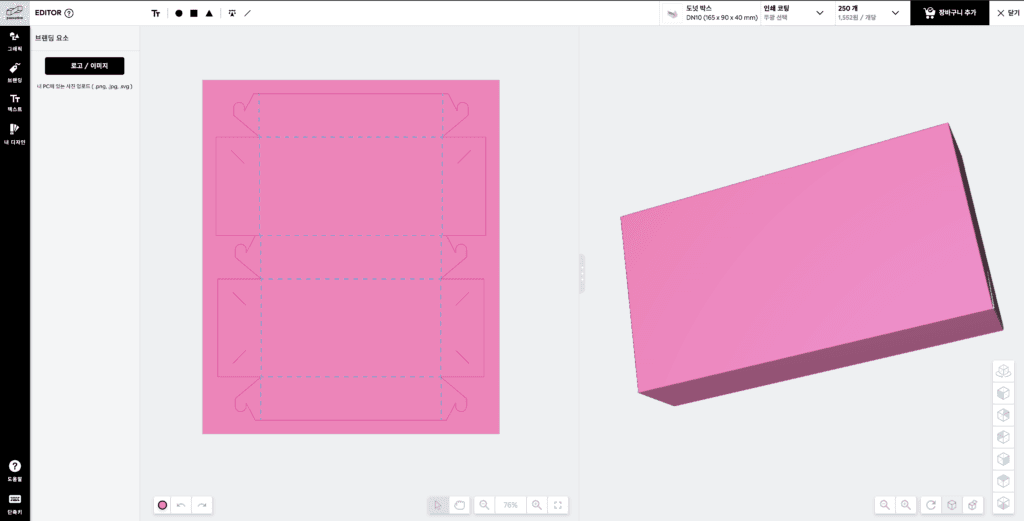
Adding brand elements to the editor for custom paper box production
Next, select “Branding,” the third category on the left.
After logging in, you can add logos and images to the box.
Go to the logo/image section and upload your file!
Vector files created in Illustrator (SVG) are the most convenient to use and won’t lose image quality.
If it’s a colored SVG icon, you can also change the color in the editor.
Want to learn what SVG files and vector files are?
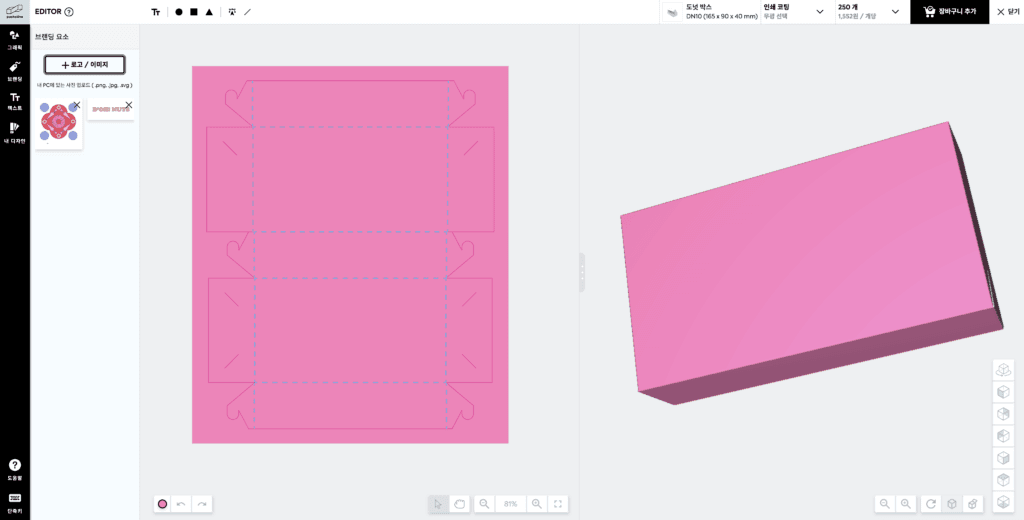
For this box design, Packative uploaded a brand symbol graphic and logo created by Packative.

Drag the uploaded images from the left sidebar onto the box dieline.
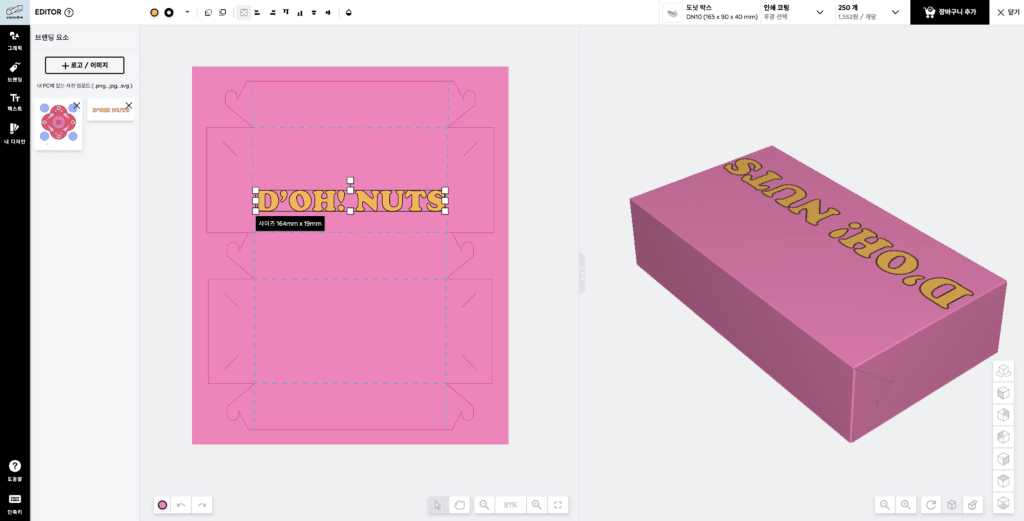
Once you drag and release the mouse, the image will be added to the box dieline.
You can check the orientation and size of the graphics on the dieline through the 3D preview.
Move the brand graphics freely within the dieline, resize them, and place them where they best fit the box.
Using brand graphic SVG files for custom paper box production
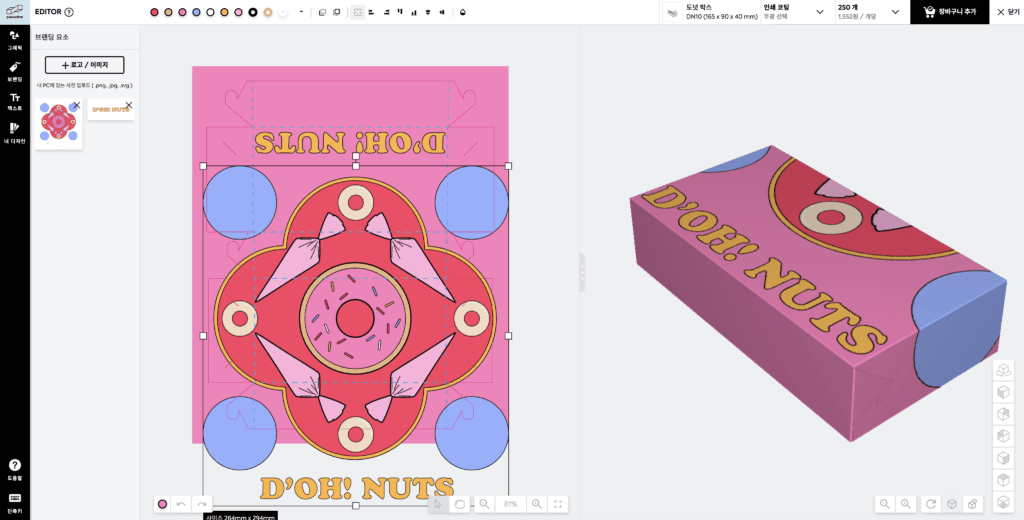
Let’s also add the brand’s graphic elements to the box!
When you first drag them in, the graphics will appear quite large, so adjust the size to fit the box.
If you click and drag a corner, the size will shrink proportionally, and if you hold Shift, you can freely change the proportions.
See more Packative web editor features
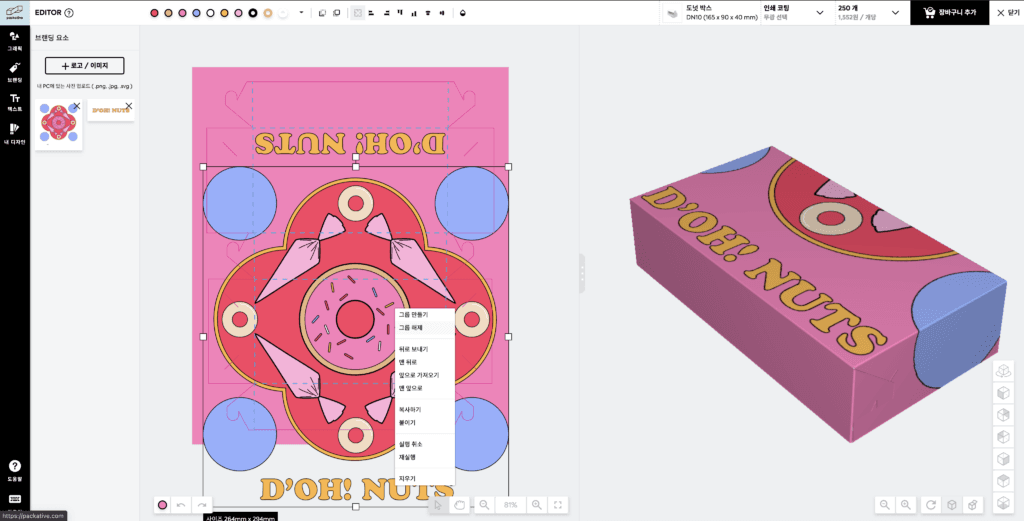
If you right-click, you can ungroup design elements and use them individually depending on the box layout!
And just like that, they’re separated!
Now you can separate them individually and group them again to place them according to each side of the paper box, right?
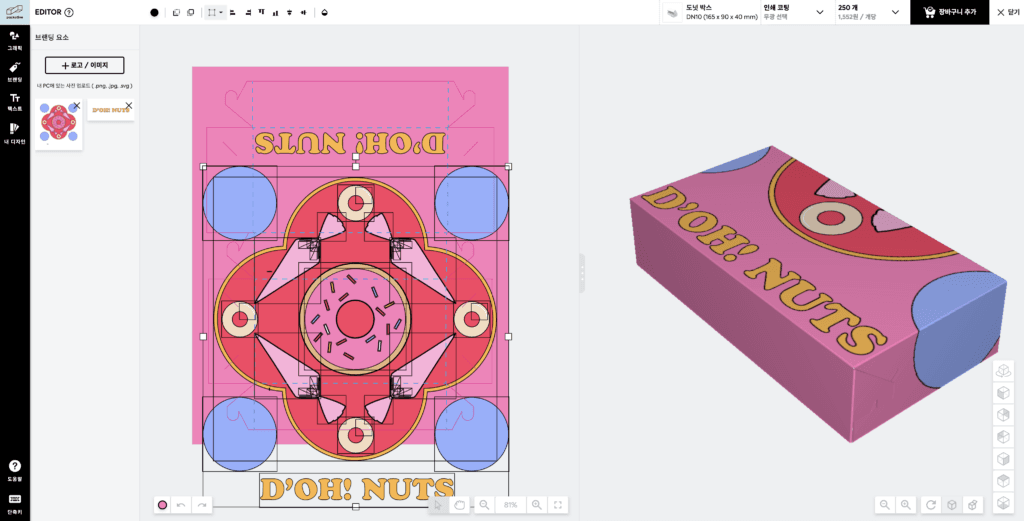
Use the design elements you want to rearrange and complete the design.
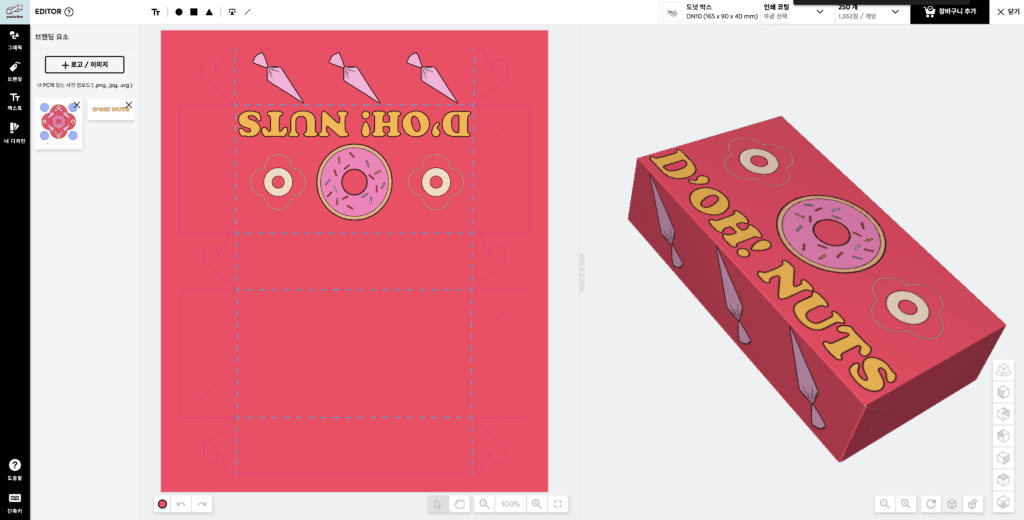
Packative placed the piping bag on the lid-opening section,
and added the logo and donut on the top panel to create a simple yet intuitive donut box.
As you can see, even simple edits can produce a clean design that fits your brand and the box size.
If you need a better understanding of logos and typography
Shall we take a look at another example?
Even just arranging a few simple shape images can create a box that feels minimal while clearly expressing the brand identity, right?
It’s truly box design that can be finished in under five minutes!
Why not try this easy and convenient branded packaging production together today in the Packative web editor?