How to Use the Packative Editor Pt. 1: Designing Packaging with Just a Logo and Color
Adding a striking brand logo to a clean color background creates packaging that is both fundamental and sophisticated. For example, Market Kurly boldly showcased its brand identity on its boxes using only violet, its brand identity color, and a white logo. Through a minimalist design, my...

Adding a striking brand logo to a clean color background creates packaging that is both fundamental and sophisticated. For example, Market Kurly boldly showcased its brand identity on its boxes using only violet, its brand identity color, and a white logo.
 Source: Market Kurly
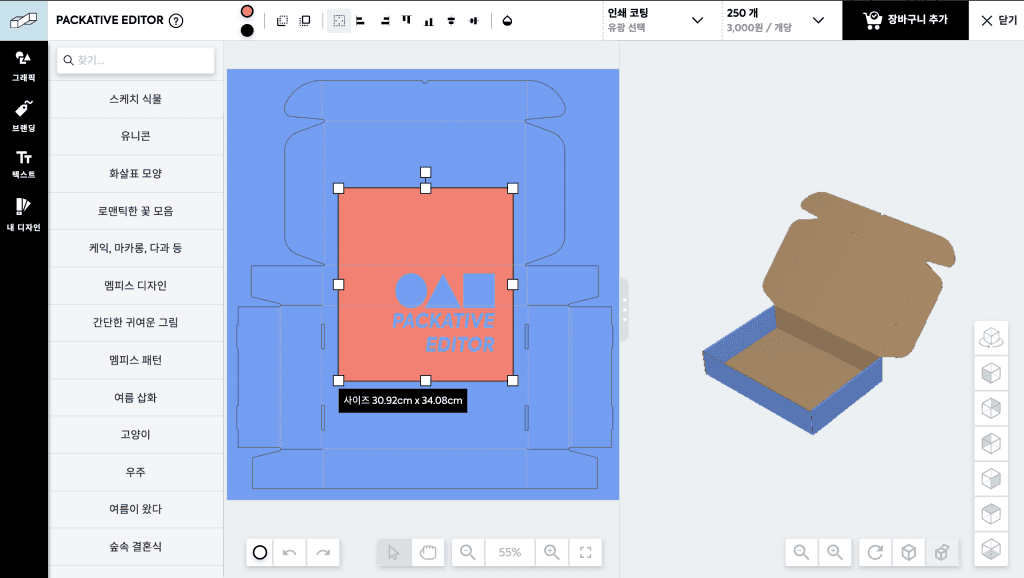
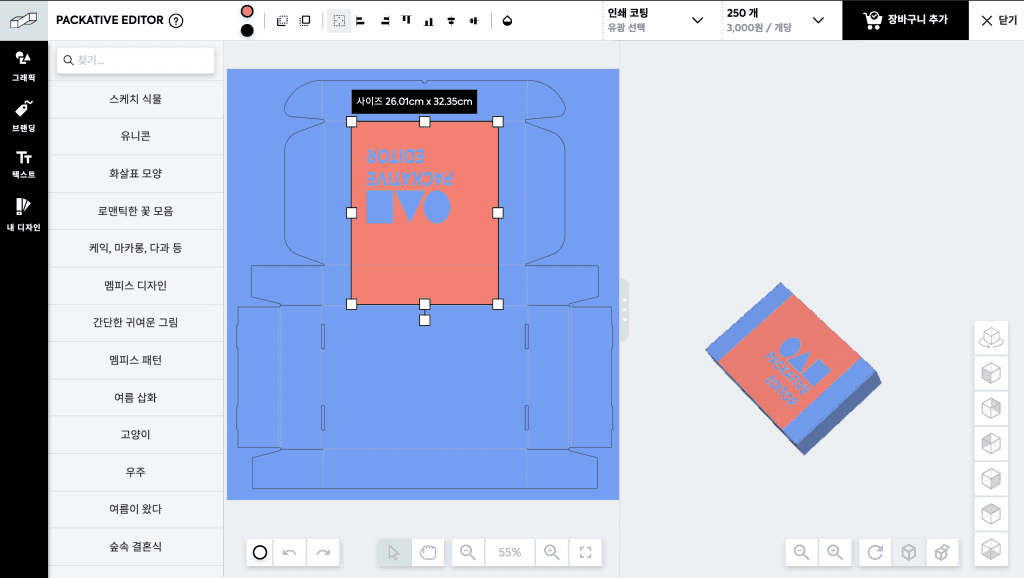
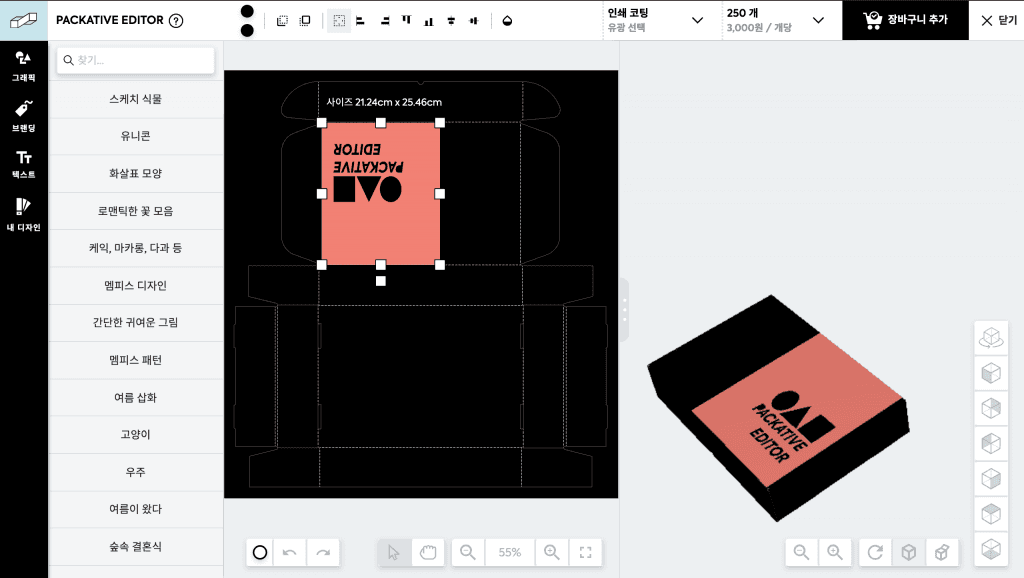
Want to express your brand even more through a minimalist design? Then there’s nothing better suited than the Packative Editor! You can move the logo in real time and see how it looks in different placements.
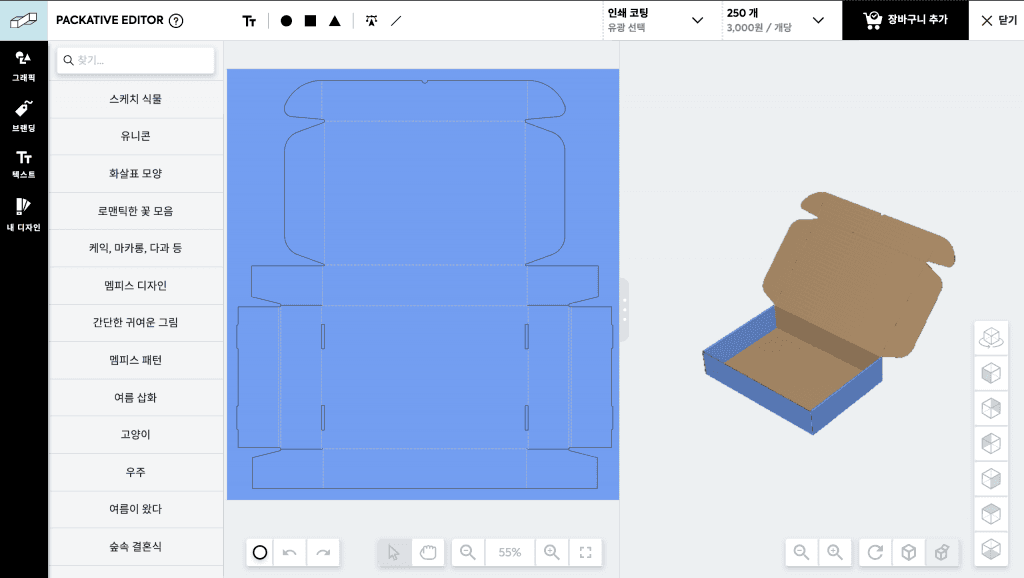
Go to the Packative website and try recreating the package design below for yourself!
Then, shall we make a logo box with the Packative Editor?
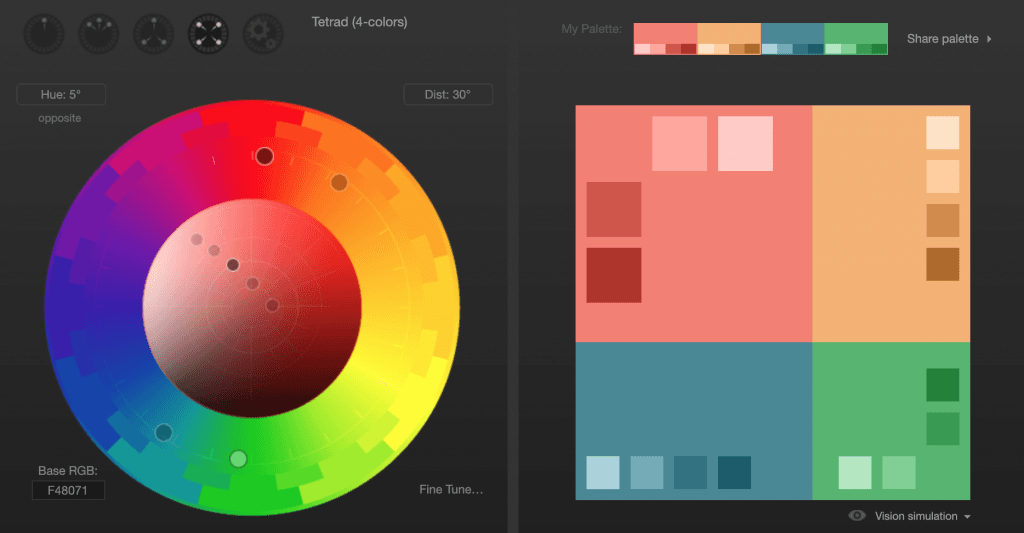
Pro tip: If you’re having trouble finding a matching color, try using a color-picking website to find the shade you want! Helpful article for choosing colors: Package Design Color Guide: For People Who Aren’t Designers
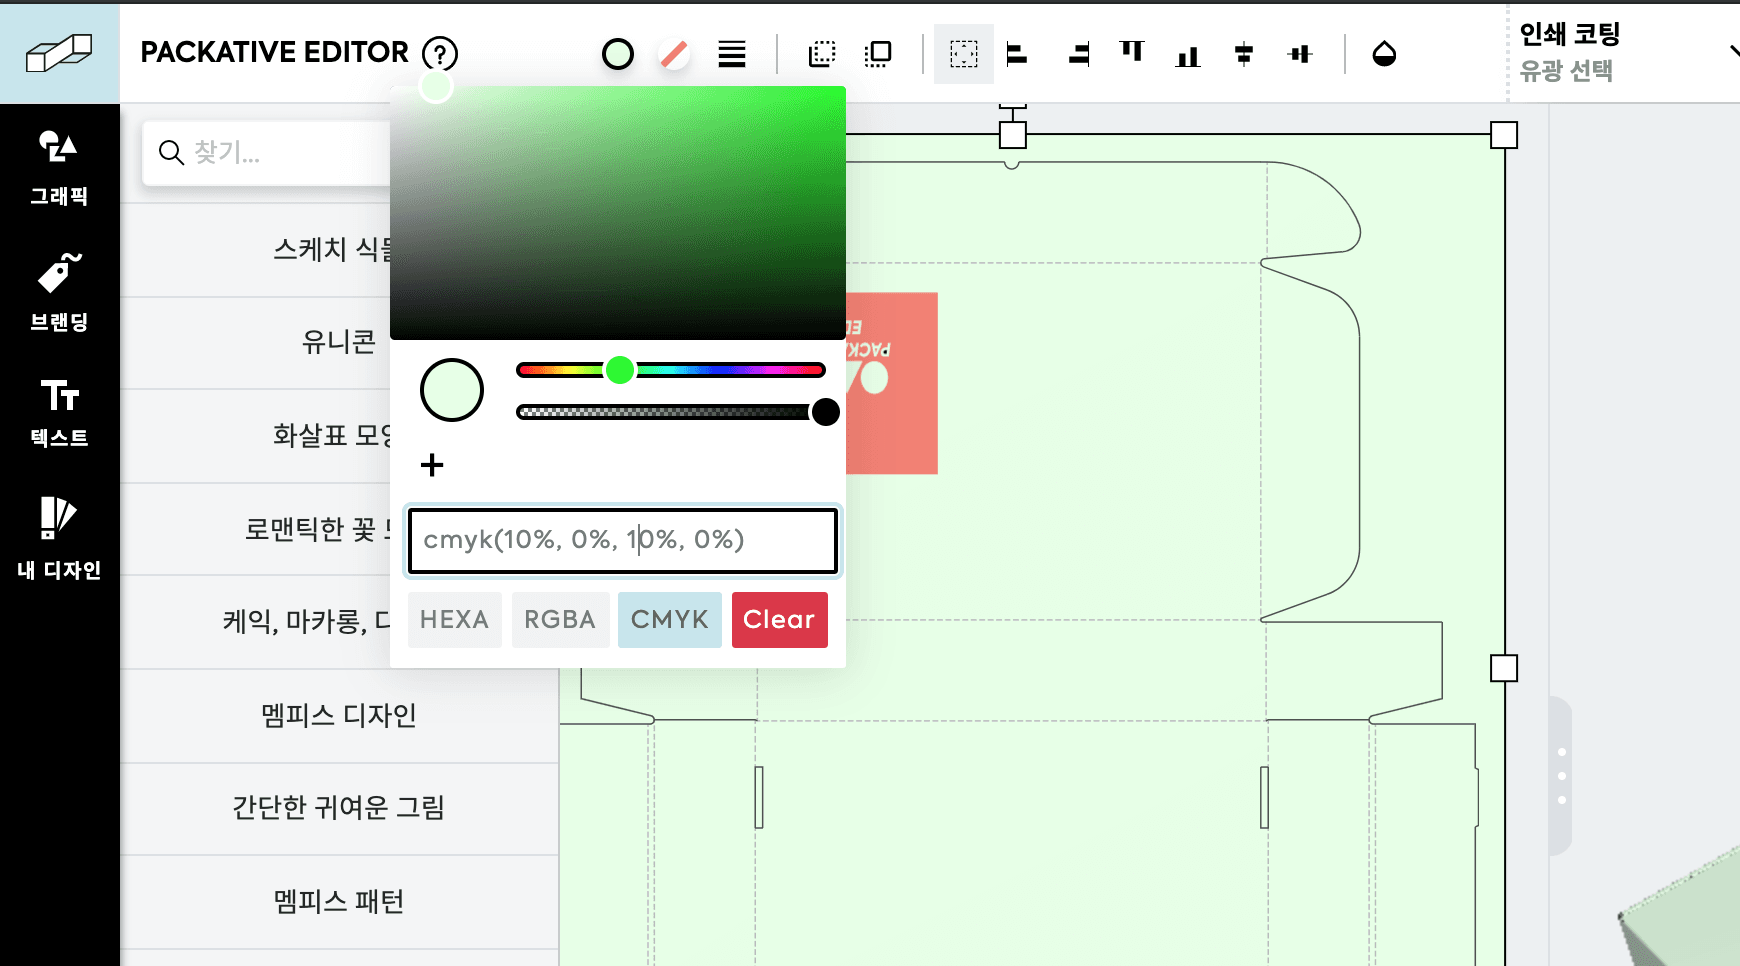
Once you’ve chosen a matching color and layout, your clean box design is complete!
But did you know there’s one thing you still need to watch out for, even with this simple design? If your logo isn’t high-resolution enough, it may print pixelated. So we recommend using a vector file, and if that’s not possible, make sure to use an image with sufficient resolution!
If you’re not sure what to do to keep your logo from breaking apart: Vector Images vs. Pixel Images
Ready to make packaging? Then explore Packative now!