Experience the Box Production Process at Packative
Box Design 101 at Packative Are you getting ready to create packaging for your own merch, products, or a new brand? But even after visiting a packaging company, you still have no idea what you’re supposed to do? Don’t worry—Packative has made the whole process as easy as possible for you...

Box Design 101 at Packative
Are you getting ready to create packaging for your own merch, products, or a new brand? But even after visiting a packaging company, you still have no idea what you’re supposed to do?
Don’t worry, Packative has made the whole process as easy as possible for you! Shall we take a look at how to make a box together?
If you want to learn more about Packative’s package design and box production process, be sure to watch the video: Watch the video
Packative Box Production Checklist:
- Visit the Packative website
- Select a box type
- Choose the box size, quantity, and coating type
- Design your packaging at Packative
4.1 Create a box by downloading and uploading a dieline (for professional designers)
4.2 Design easily with Packative’s online editor (for beginners) - Packative work guide
5.1 Packative dieline usage guidelines (for professional designers)
5.2 Packative editor work guide
1. Visit the Packative website
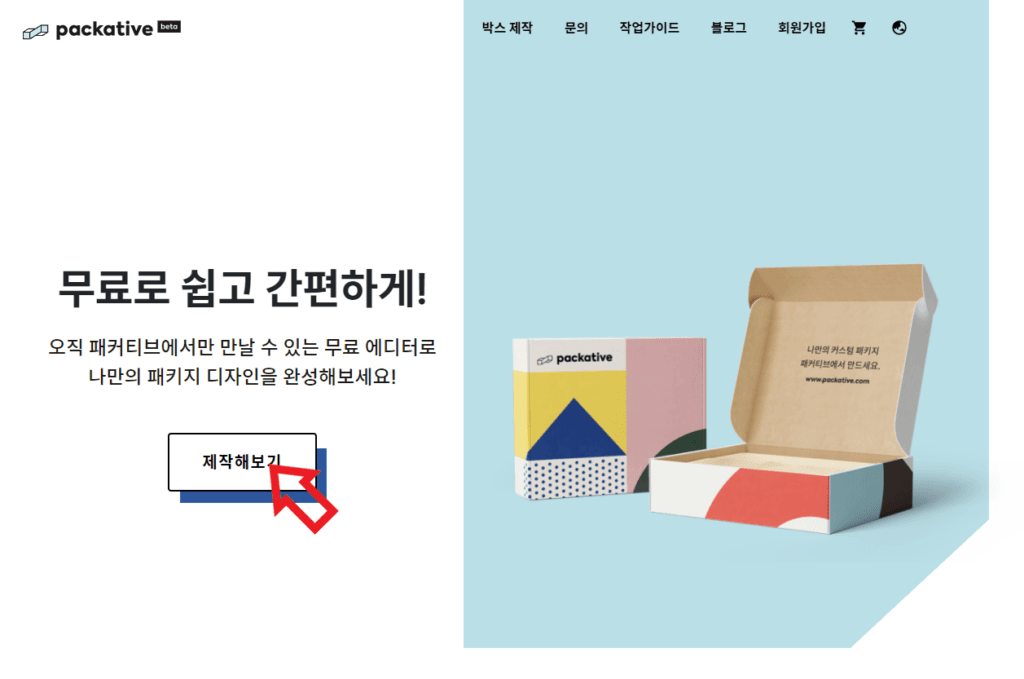
First, let’s go to the Packative website! No need to look any further—just click the ‘Start Creating’ button right away!
If you’re working on package design, see also: A Guide for Packaging Beginners
2. Select a box type
Once you click the Create button… voilà! You’ll see the standard box types available from Packative! Product boxes are recommended for those who want to beautifully package and display products in offline stores, mailer boxes are ideal for brands running online shops that want to deliver a complete experience to customers, and pillow boxes are perfect for anyone who wants to make small, precious items even more special with gift packaging!
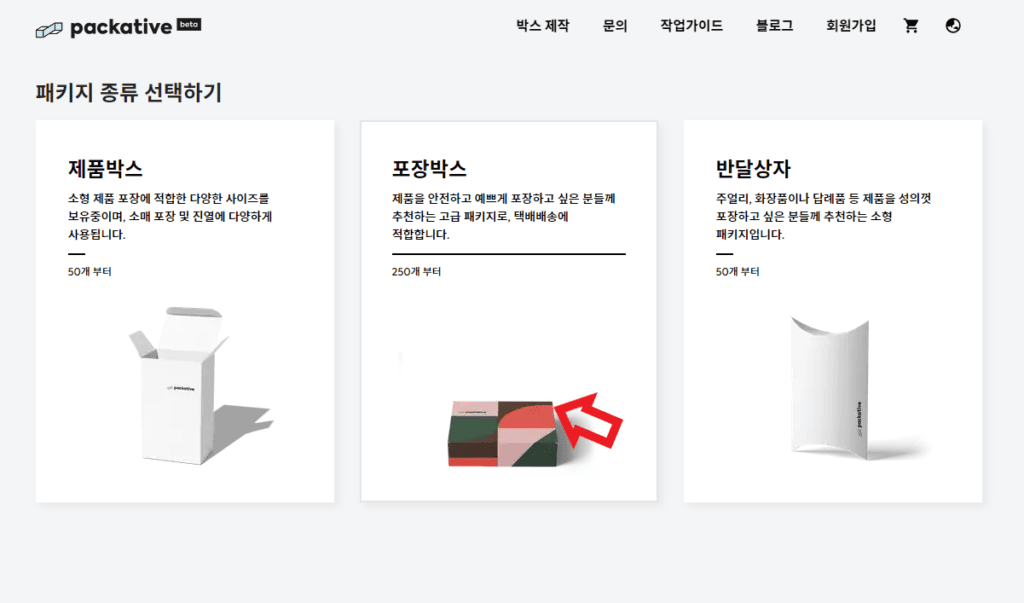
Now choose the box type you want and click it!
- Create a Product Box
- Create a Mailer Box
- Create a Pillow Box
- Create a Slide Box
- Create a Handle Box
- Create a Donut Box
Want to learn more about other folding carton shapes? A must-read: Packative Introduces Custom Folding Cartons.
3. Choose the box size, quantity, and coating type
Have you selected a box? At Packative, let’s start by looking at the mailer box!
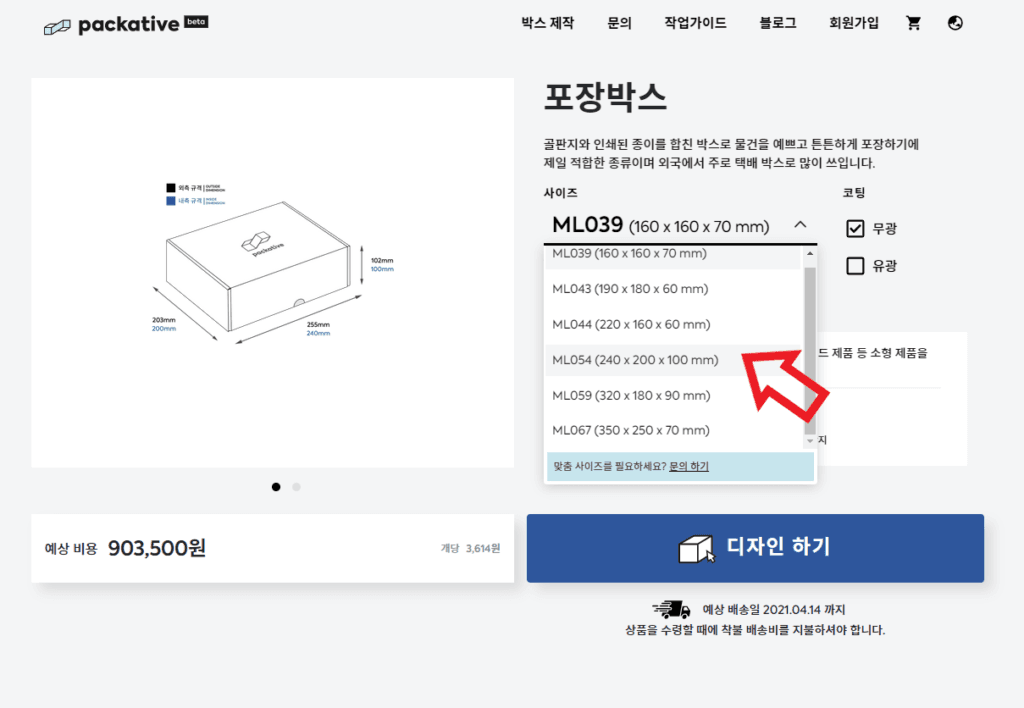
Size, coating type, and quantity are all right there. Shall we take a closer look at each option together?
Choose the right size based on what you’ll put inside, and check the quantity to see the price right away!
Of course, the cost per box goes down as your order quantity increases!
If you’re working on package design, see also: Vector Images vs. Pixel Images: Why Should Your Packaging Design Be Made as a Vector File?
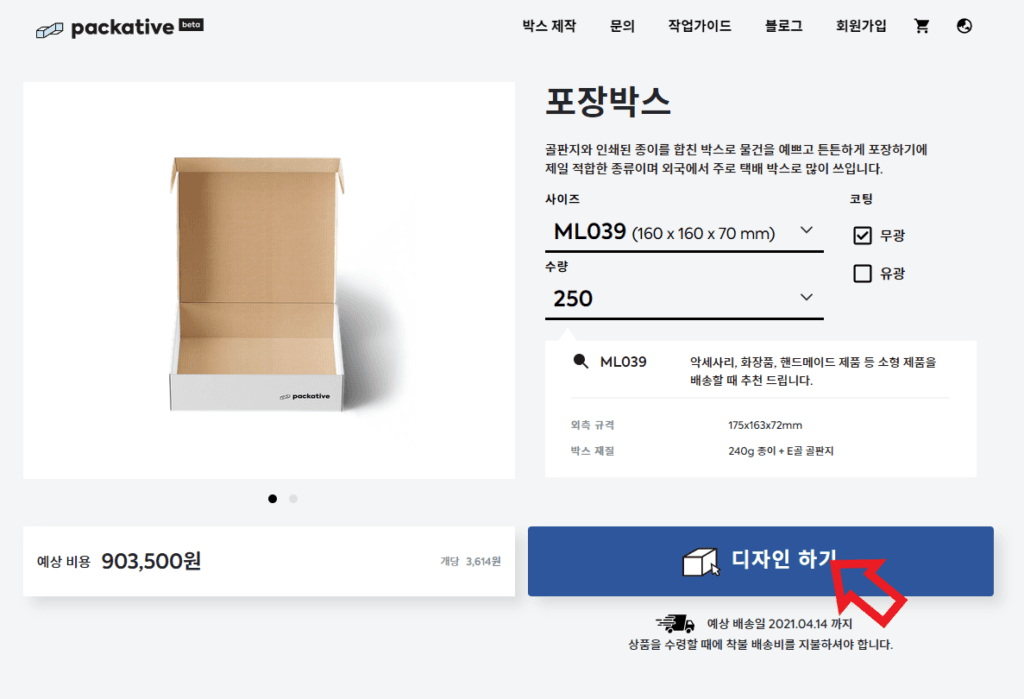
Once you’ve chosen the size, quantity, and whether to use glossy coating, shall we move on to design?
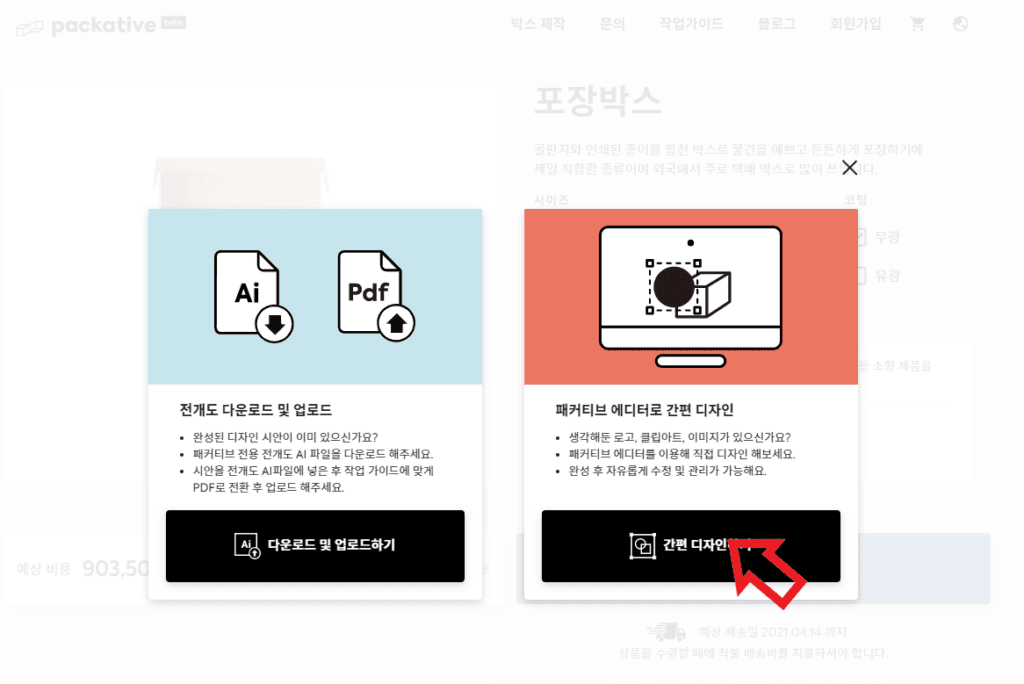
4. Design your packaging at Packative
When you click the Design button,
- there is an option to design with a dieline (for professional designers), and
- there is an option to design with Packative’s editor. (easy design for everyone)
Shall we start with the dieline design option?
If you don’t know what a dieline is: What Is a Box Dieline? Why Printed Paper Becomes a Structure
4.1 Create a box by downloading and uploading a dieline (for professional designers)

First, click the download and upload button to download the dieline, then go to the site where you can upload it again.
Below the dieline download section on the right, you’ll find AI and PDF files ready to use!
Click the AI file download to save the file, then use Adobe software to show off your professional design skills!
Don’t forget to follow the work guidelines included in the file!
Once your design is complete, upload the finished file in the design upload section, check the coating and order quantity again, and add it to your cart! Pretty easy, right?
4.2 Design easily with Packative’s online editor (for beginners)
Go back to option 2 and click the ‘Easy Design’ button, and you’ll be able to use Packative’s online 3D editor!
Shall we take a look together?
If this is your first time visiting the editor, please read the introduction to the easy editor features!
And then, shall we make a box together?
Voilà! The box has been completed quickly and easily!
Don’t forget that you can change the color of the entire box using the button in the lower-left corner!
Once you’ve finished designing the box, click the ‘Add to Cart’ button in the upper-right corner to go to the checkout page!
Would you like to take a closer look at the features in the editor? Then please check out the Packative work guide! Take your time exploring the editor and guideline features provided by Packative, and learn more in detail through the video.
5. Packative work guide
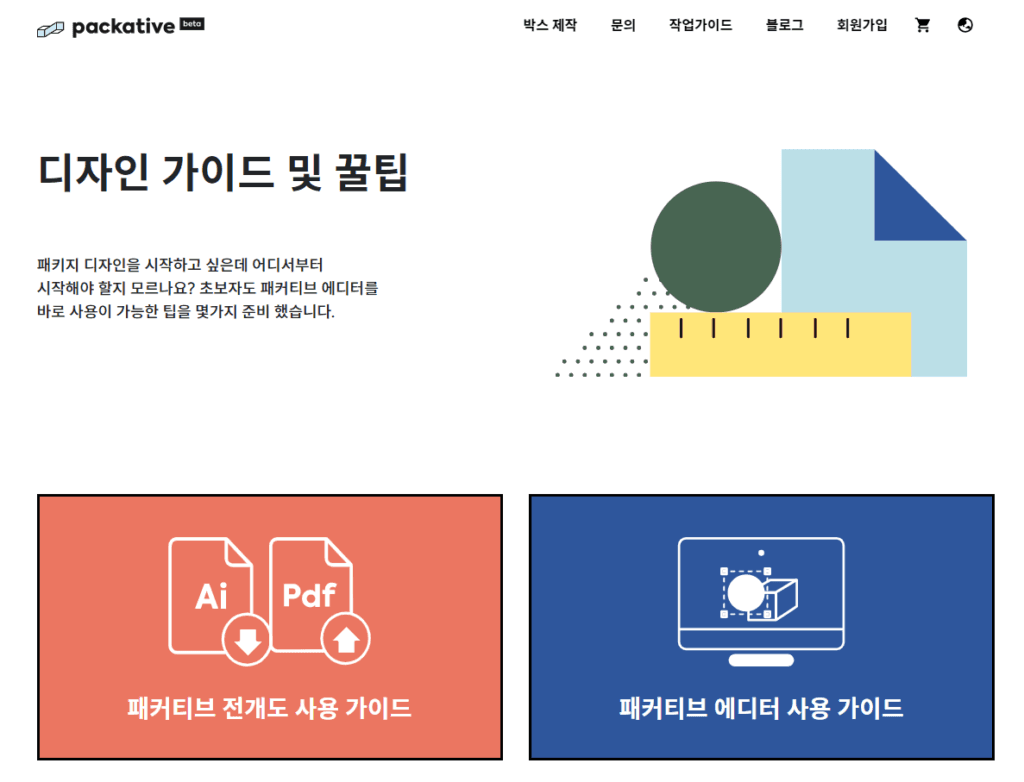
Did you run into difficulties while working in the editor or with the AI file and come back here? Then please check the ‘Work Guide’ section in the upper-right menu bar!
5.1 Packative dieline usage guidelines (for professional designers)
We’ll walk you through the basic dieline guidelines and how to use the Packative editor step by step!
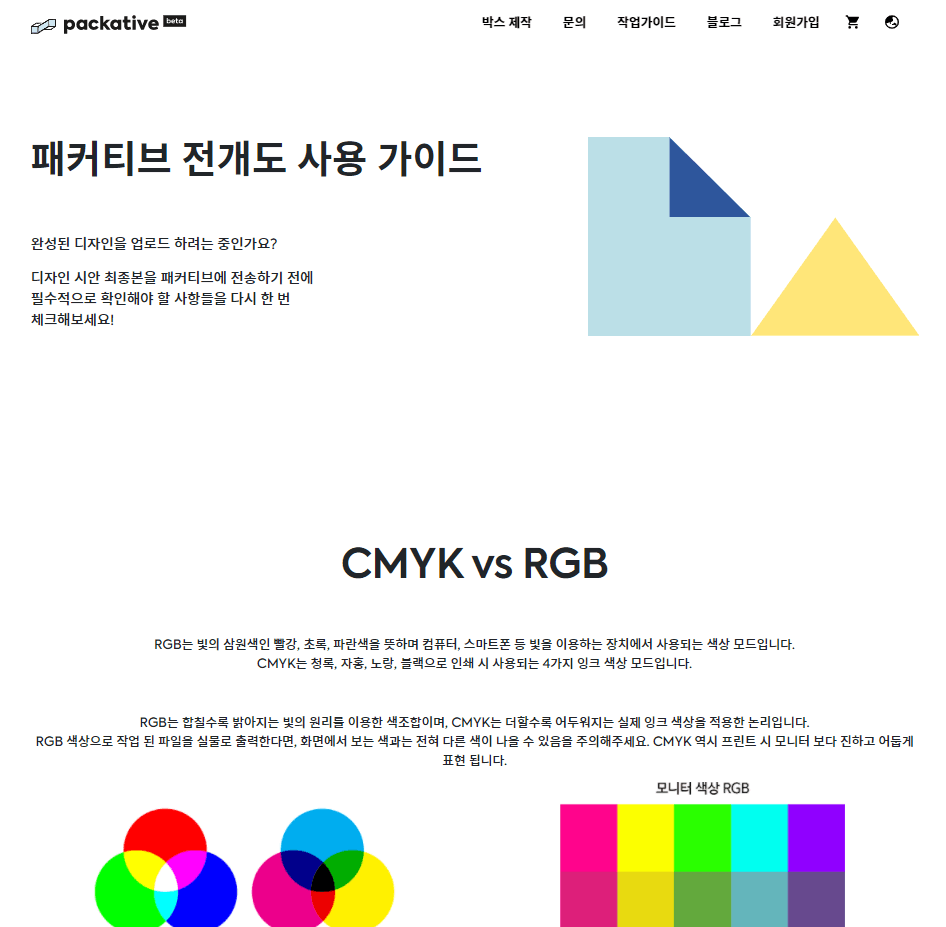
If you go to the dieline usage guidelines, you can check the items you must follow when working with Illustrator files and the things you need to verify so that the packaging prints correctly without issues.
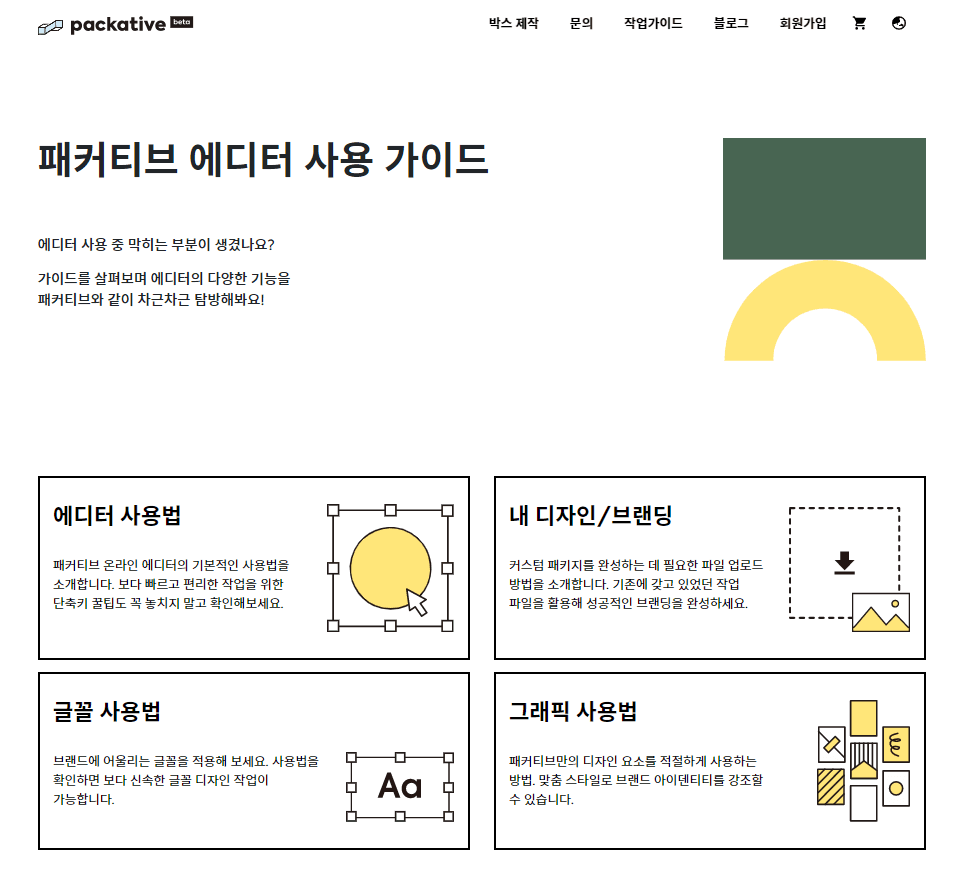
5.2 Packative editor work guide
If you check the editor usage guidelines,
You can find detailed guidance on how to apply your own designs and branding elements to packaging, how to use and check text and fonts, and how to use graphics from Packative’s library.
So now, without any more delay, why not make a box!