Welcome!
This is Packative's Customer Center.
Answers to frequently asked questions
and helpful information for creating packages!

Have questions?
Check our frequently asked questions below!

Still have more questions?
Contact our Customer Center!

- FSC® Certification
- Food Safety
- 100% Natural Pulp, Non-Chlorine Bleached
- White front, slight off-white back.
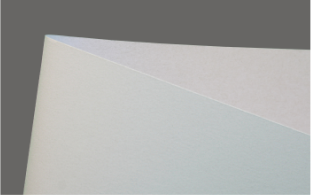
- Contains over 90% recycled materials
- Between SC Manila and Royal Ivory.
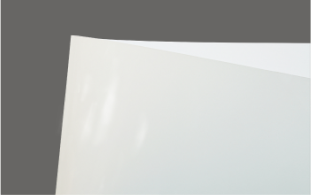
- Glossy finish on the front, like coated paper
- White high-quality paper.
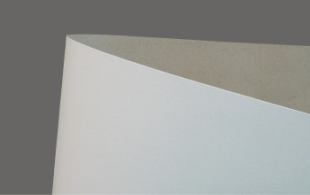
- Contains over 90% recycled materials
- Front is white, back has a grayish tint.
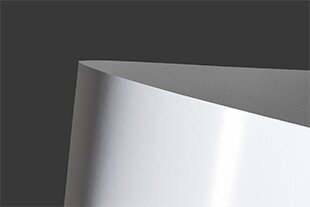
- Smooth and uniform coated paper
- Vivid color reproduction possible.
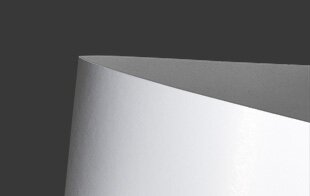
- Soft and matte texture
- Low reflectivity, subtle sheen after printing.
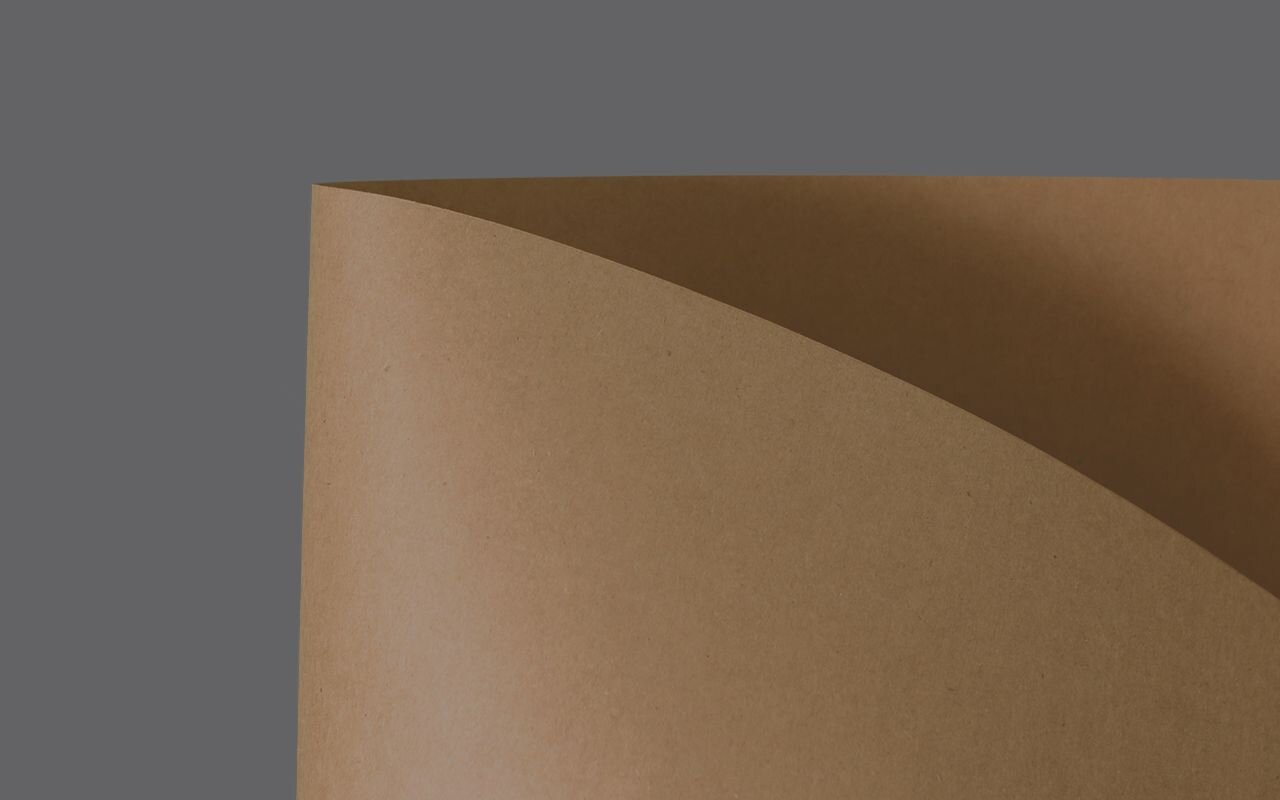
- FSC® Certified Paper
- Food Safety
- Contains over 85% natural pulp.
- Eco-friendly paper made from unbleached pulp
- FSC® Certified Recycled Paper
- Contains 40% ECF recycled pulp
- Excellent suitability for post-processing.

- FSC® Certified Neutral Paper
- Light ivory color with a felt texture on both sides
- Uncoated paper.

- FSC® Certified Neutral Paper
- Pure white, felt texture on both sides
- The whitest Old Mill paper
- Uncoated.

- FSC® Certified Neutral Paper
- Elegant white, felt texture both sides
- Uncoated.
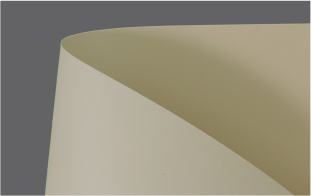
- 100% Sugarcane Non-Wood Paper
- Food Safety
- Unbleached and biodegradable.

- FSC® Certified Neutral Paper
- Natural, high-quality white paper
- Uncoated.

- FSC® Certified Neutral Paper
- High whiteness, soft texture
- The whitest Acopac paper
- Uncoated.

- FSC® Certified Neutral Paper
- Food Safe
- No OBA, safe paper
- Warm, calm color tone
- Uncoated.
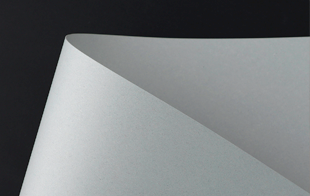
- FSC® Certified Recycled Paper
- 95%+ ECF pulp
- Smooth, excellent printability, high strength.
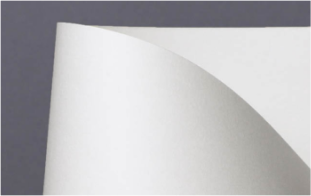
- FSC® Certified Non-Wood Paper
- Food Safe
- 65%+ Bamboo Pulp
- Lightweight.
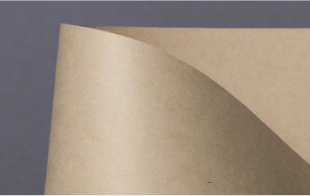
- FSC® Certified Non-Wood Paper
- Food Safe
- 100% Biodegradable
- 100% Bamboo Pulp
- Lightweight.
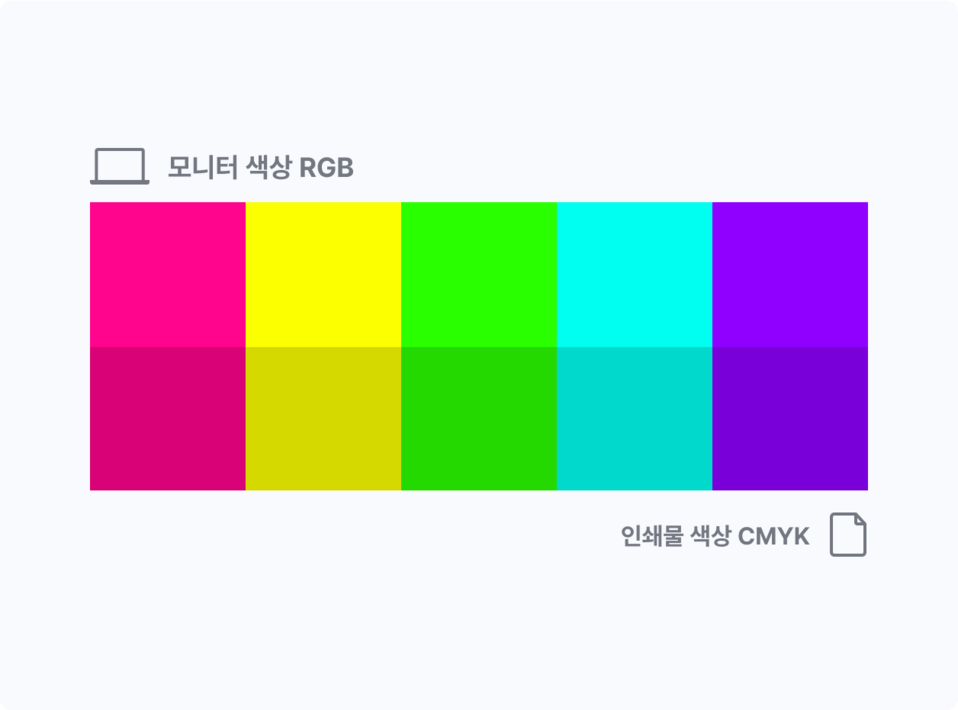
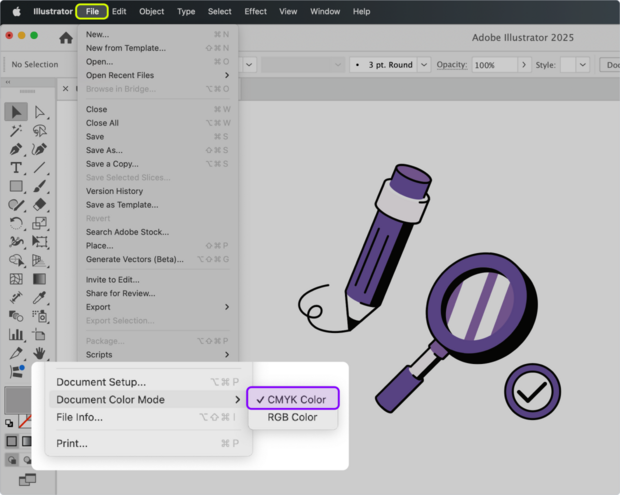
RGB stands for red, green, and blue, the three primary colors of light, and is the color mode used by devices that use light, such as computers and smartphones.
CYMK is the four ink color modes used when printing in cyan, magenta, yellow, and black.
RGB is a color combination based on the principle that light gets brighter as you add it together, while CMYK is the logic behind actual ink colors that get darker as you add them together.
Please note that if you print out a file that has been worked on using RGB colors, the colors you see on the screen may be completely different from the colors you see on the hard copy.
CYMK especially will also appear darker and darker in print than on monitor.
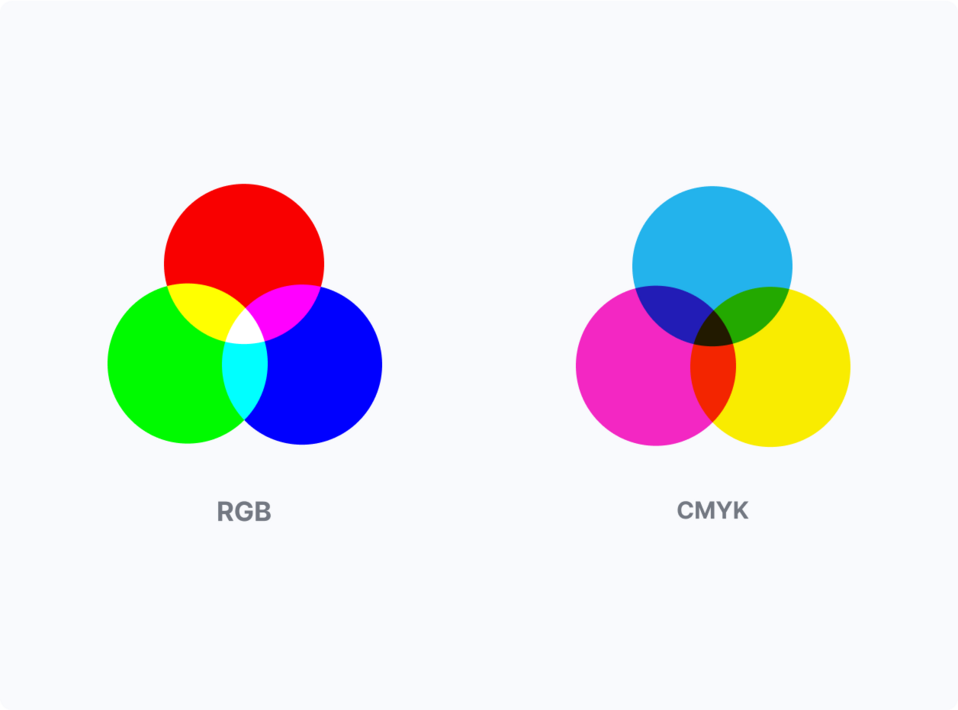
CMYK? Spot Printing?
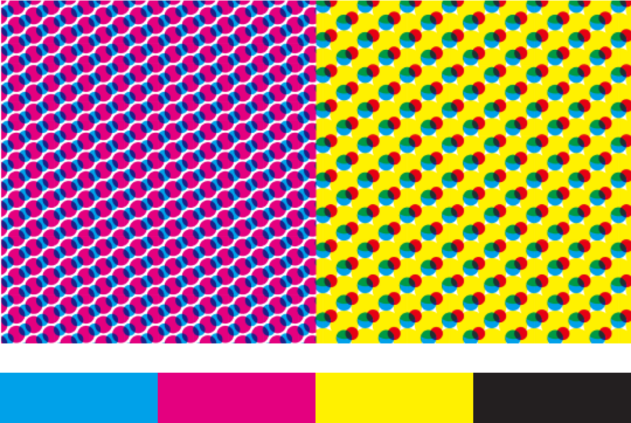
The color scheme used for printing is blue, magenta, yellow, and black.
If your package design is colorful, then we recommend getting CMYK printing over spot colors.
This is because the colors will print harmoniously and will be less expensive than spot colors.
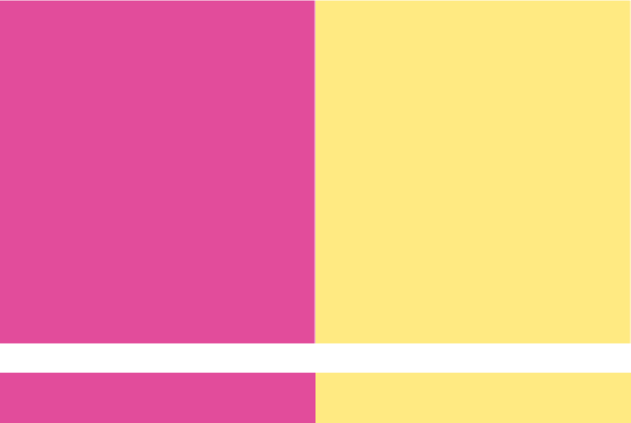
Spot Color Printing
CMYK combinations cannot represent all colors, and that's where spot colors come in.
Spot colors make more sense when printing vibrant colors, or when filling a large area with a single color.
They are chosen from within the Pantone color chip.
Differences in Print Color Based on Paper Material
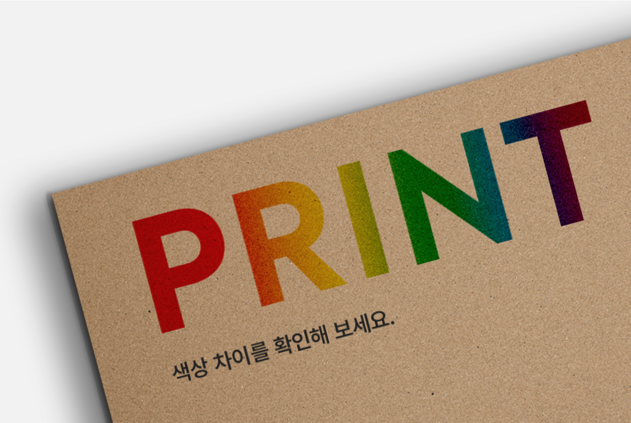
Kraft
The texture of the paper is somewhat visible. With an eco-friendly feel, Kraft is often produced in a clean package with a simple logo rather than fancy printing.
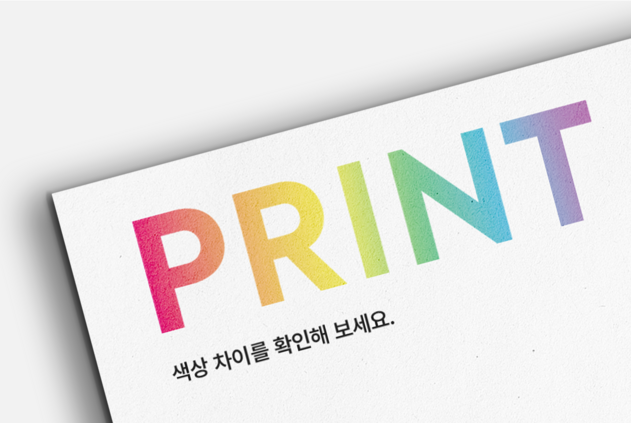
White Paper
While this paper prints with cleaner colors close to their original design, keep in mind that the actual package may still come out a little darker or richer than you think.
Coating
Coatings can make your package look more polished and professional.
Coatings reinforce the surface of the box, protecting it from scratches and making it water resistant.
Depending on whether the box is glossy or matte coated, the final produced color may vary slightly.
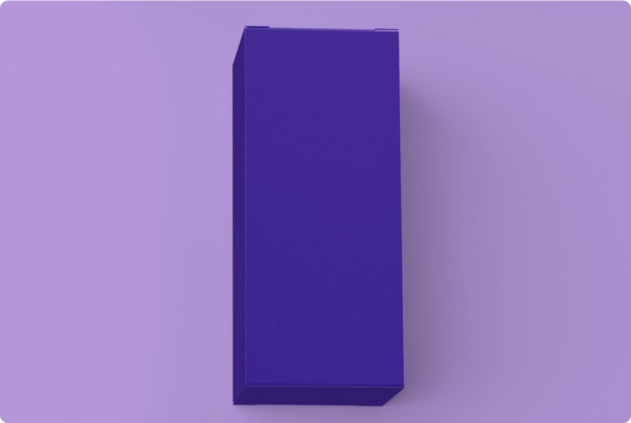
Matte Coating
One of the most popular post-processing options for packaging, a matte coating tones down the color of the package when printed to create a calming effect.
The matte coating is a clean look that works particularly well with minimalist designs, but it can also tie together colorful cases. We recommend it for products that are looking for a simple, high-end look.
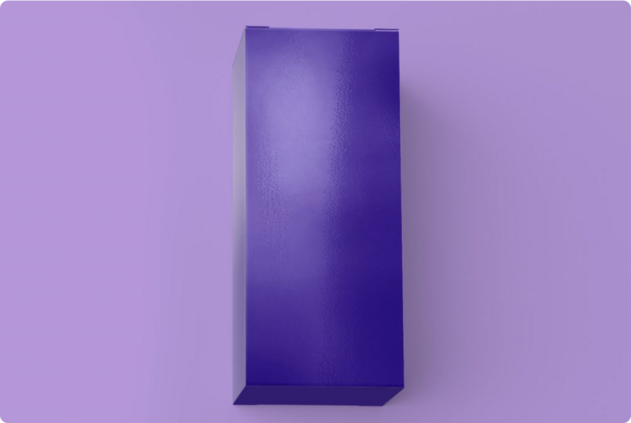
Glossy Coating
This coating is often used on cosmetic cases and high-end packaging because it is brighter and sharper when printed, giving packages a shimmering look that reflects light and creates a more glamourous and attention-grabbing aesthetic.
This coating is used when colors need to be more vivid, but need to be well matched to the brand image or logo to create a stylish package.
Design Requirements
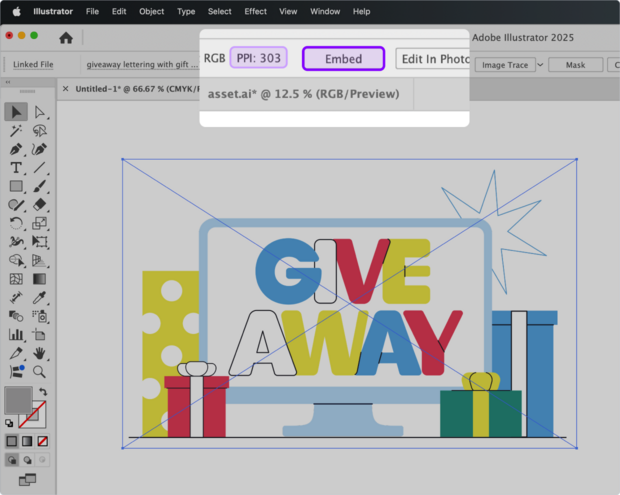
이미지 해상도가 낮을 경우(PPI: 300 이하), 이미지가 깨져서 인쇄됩니다.
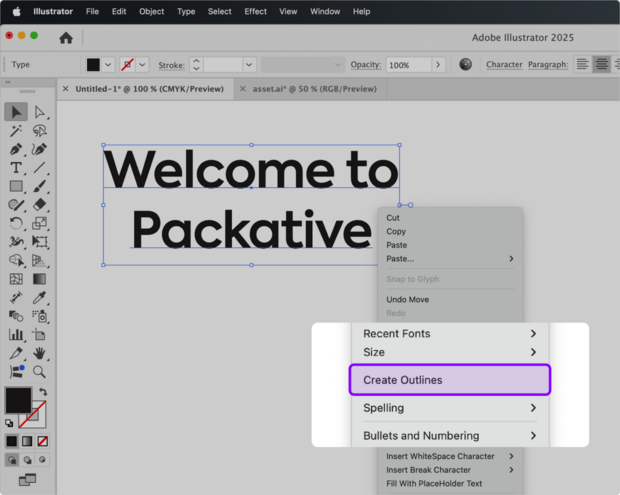
Outline 처리하지 않은 글자는 기본 글꼴로 대체되어 인쇄될 수 있습니다.

전개도 약간 바깥까지 디자인을 채워주세요.(작업사이즈)
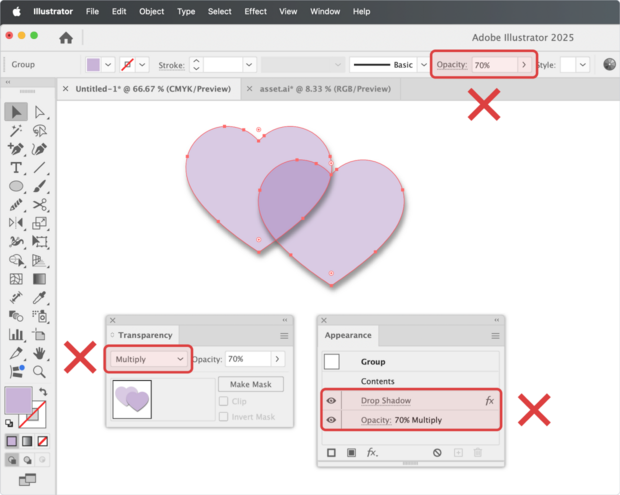
투명도 등을 사용한 오브젝트가 있다면 래스터라이즈해 주세요.
Make sure to check that the design is oriented correctly when the package is folded.
When designing on a flat layout, it's easy to assume that all sides are oriented in one direction.
This can lead to mistakes where some sides appear reversed when the box is assembled.
With the Packative Editor, you can use the 3D preview to check the design direction immediately. However, if you are working with an AI file, make sure to export the design file as an SVG. Then, upload it to the editor and use the 3D preview to verify the image orientation once again.
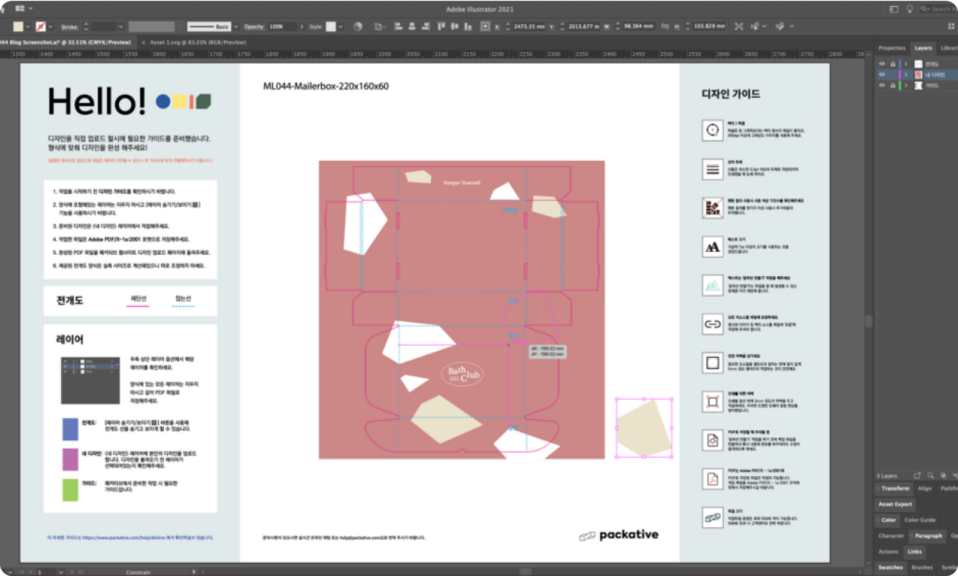
First, download the Pactive layout and use Illustrator to design the box.
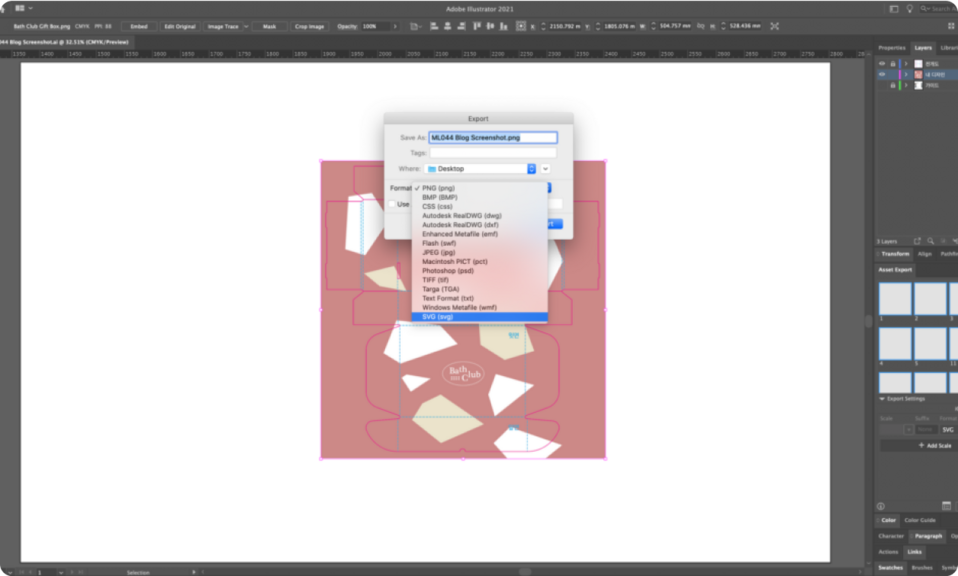
Export the layout and design, and save them as an SVG file without using artboards.
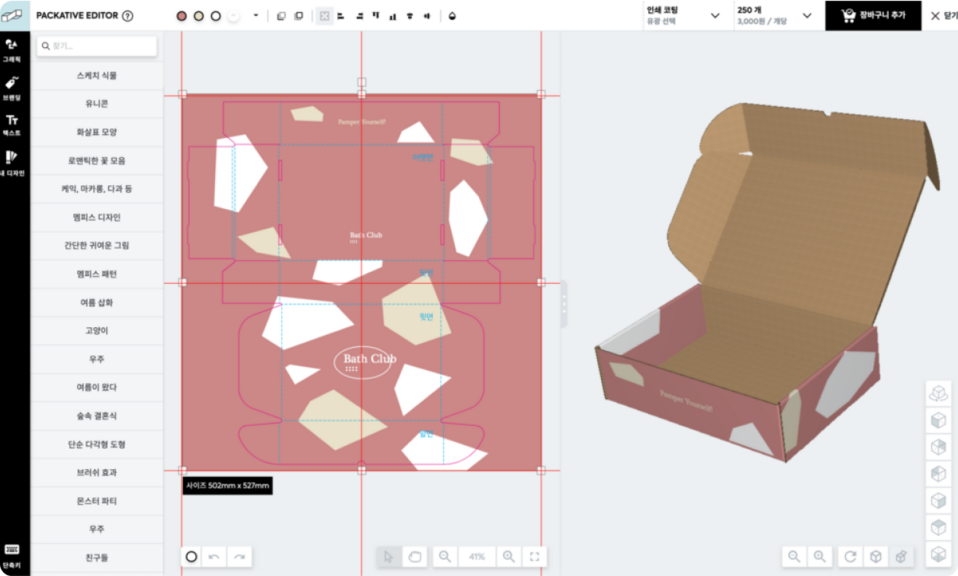
Upload the design layout SVG file to the Pactive Editor, and align it to the center.
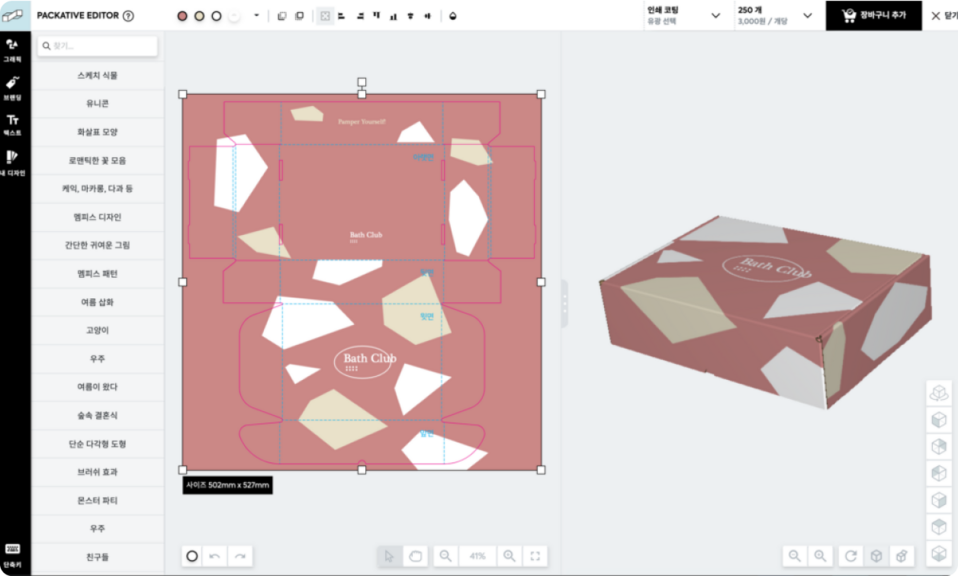
Once the layout is uploaded and centered, use the 3D preview to check if the design direction is correct.